A poorly cut reglet, the wrong sealant, or ignoring joint movement turns a straightforward metal bend into a slow, expensive leak. Water tracks behind stone, freezes in winter, and eventually damages both masonry and the framing behind it.
This guide covers when counter flashing is required, what materials and tools you need, the exact installation steps, the variables that actually determine performance, and how to troubleshoot common failures.
TL;DR
- Counter flashing directs water down and away from where base/step flashing meets a masonry wall
- Installation means cutting a reglet, inserting flashing, and sealing with a flexible, movement-tolerant material
- Best suited for chimneys, parapets, and stone/brick walls where base flashing terminates against vertical masonry
- Most failures trace back to rigid sealant cracking under building movement, not the metal itself
- Lead joint-protection strips absorb that stress and extend sealant life
How to Install Stone Counter Flashing
A sound install follows four stages: cut the reglet, form the metal, set it free of the roof plane, then seal the joint so it can move without tearing.

Step 1: Cut or Locate the Reglet
Cut a horizontal reglet into a sound mortar joint using a diamond blade grinder. Never run a continuous cut straight through stone units. According to NRCA's guidance on regleted counter flashing, mass masonry reglets typically run 2 to 2-1/2 inches deep, though 1-3/4 to 2 inches is often more practical.
If you must cut directly into a stone unit rather than the mortar joint, limit that depth to roughly 1 inch to avoid weakening the stone.
Clean all dust and debris from the slot before moving forward. Debris left behind is one of the most common (and most avoidable) causes of sealant adhesion failure later.
Step 2: Cut and Bend the Counter Flashing Metal
Cut flashing to length from coil stock (lead, copper, or aluminum), overlapping sections by at least 4 inches at joints between counter flashing pieces. Bend the top edge to insert into the reglet, and the bottom edge to overlap the base flashing.
Key clearance rule: counter flashing should never rest on the roof surface. Keep it roughly 1 inch above the roof plane so it can move independently from the roof deck.
Step 3: Insert and Secure Flashing Into the Reglet
Insert the top edge at a consistent depth across the entire run. Secure it with lead wedges spaced about 12 inches apart (at least two per piece), placed toward the back of the reglet.
Don't fasten flashing to both the wall and the roof plane. The wall and roof move independently over time; pinning flashing to both restricts that movement and tears the metal or breaks the seal.
Step 4: Seal the Joint
Pack the reglet with mortar or sealant over the flashing to lock it in place and seal out water. This step causes more premature failures than any other part of the job.
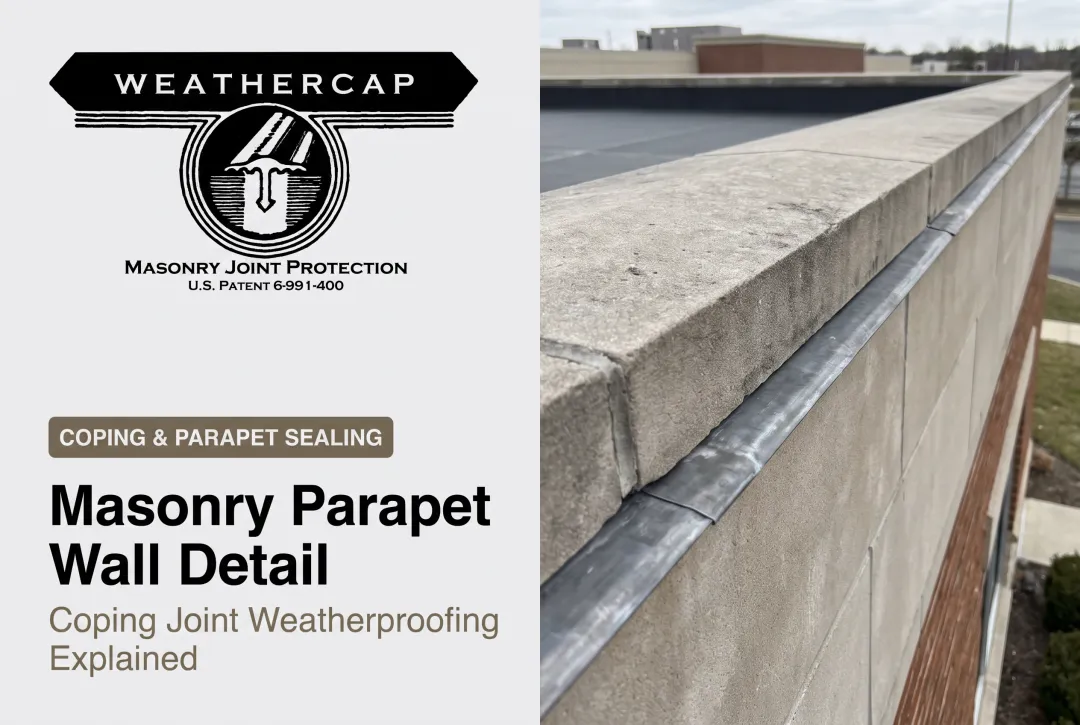
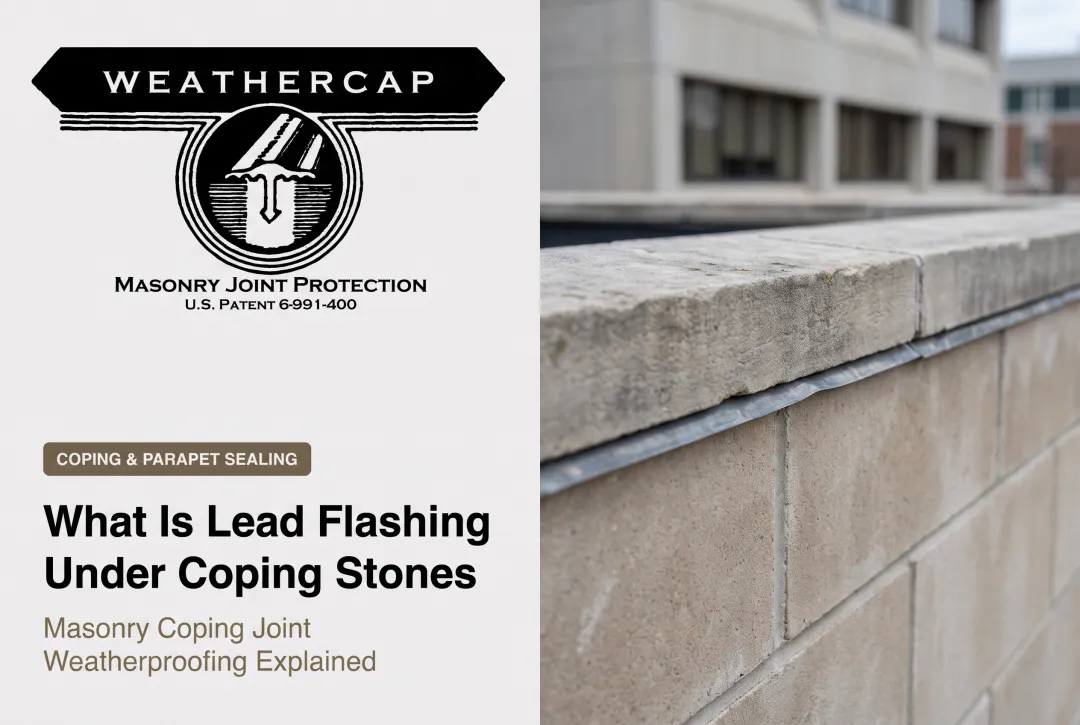
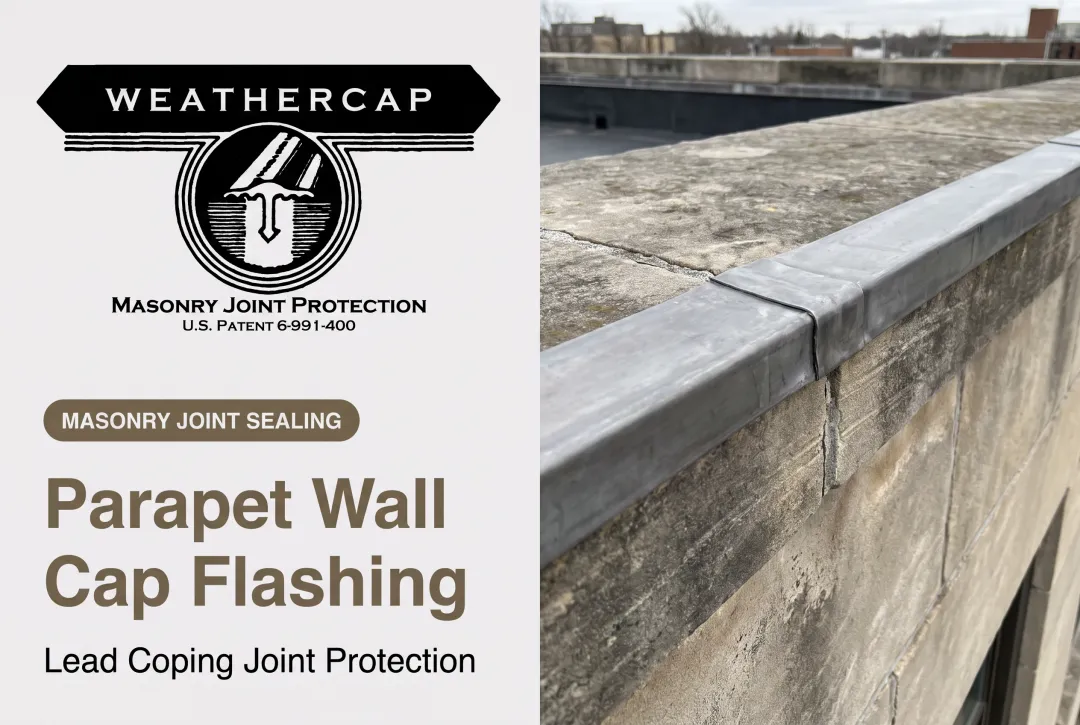
A rigid, non-elastomeric sealant cracks as masonry settles and expands seasonally. A joint-protection product like Weathercap's soft lead strip system addresses that stress: set inside the sealed joint, it cuts the opening the sealant must span by roughly half and buffers movement so the sealant doesn't tear.

Tool the sealant to shed water outward and inspect the full run for gaps before calling the job done.
When Should You Counter Flash a Stone Wall?
Counter flashing is required anywhere base or step flashing terminates against vertical masonry:
- Chimney-to-roof intersections: one of the most leak-prone junctions on any building
- Parapet copings atop masonry walls: high-movement zones exposed to weather from multiple sides
- Roof-to-wall transitions: where roof edges meet stone or brick facades
Fully mechanically fastened metal panel systems with integrated water diversion may need it less. Even those systems typically still require counter flashing wherever they meet masonry.
Scale and exposure matter too. Historic masonry landmarks and buildings in high-humidity or freeze-thaw climates face greater consequences from a bad detail. Counter flashing therefore shows up often in federal preservation specifications.
What You Need Before Counter Flashing a Stone Wall
Gathering the right materials and tools upfront prevents mid-job compromises that shorten the life of the whole assembly.
Tools and Equipment
- Diamond blade grinder for cutting reglets
- Tin snips or sheet metal shears
- Lead wedges or seam fasteners
- Caulking gun
Materials
Flashing metal should match the masonry's chemical compatibility. Lead, copper, and coated aluminum are the standard options, paired with a flexible sealant rated for masonry joint movement.
Include a joint-protection strip with the metal and sealant. Weathercap's patented lead strip system reduces the effective joint opening by about half when interposed in a sealed joint, helping the sealant survive ongoing building movement instead of tearing.
It is specified in GSA Historic Preservation Technical Procedures (Document 07656-01) under "Installing Lead Stone Flashing to Protect Masonry Joints," and has been used on the Washington Monument, the U.S. Supreme Court, the U.S. Capitol, and the Smithsonian Institution.
Two configurations cover different joint geometries:
| Type | Use Case | Sizes (I.D. joint width) |
|---|---|---|
| Type A (Flat Cap) | Coping and flat-plane joints | A-2 to A-8: under 3/8 in. up to 1-1/2 in. |
| Type B (90° Cove Cap) | Right-angle joints, coping-to-wall corners | B-2 to B-8: under 5/16 in. up to 1-1/4 in. |
Both ship in 6-foot lengths, generally within 48 hours of ordering.
Skill and Compliance Readiness
Confirm local code requirements for flashing thickness and reglet depth before cutting. Note that the 2021 IBC requires flashing at wall-roof intersections but doesn't prescribe reglet dimensions — that's a design decision, not a code mandate.
Also check metal compatibility. Per MCA's technical bulletin on dissimilar metal corrosion, copper can severely corrode adjacent steel, aluminum, or zinc when rainwater acts as an electrolyte between them.
Key Parameters That Affect Counter Flashing Performance
A handful of variables determine whether a counter flashing job lasts decades or fails within a season.
Reglet Depth and Angle
Shallow reglets let flashing pull loose as the building settles. A depth in the 1 to 2-1/2 inch range (substrate-dependent) with a slight outward slope keeps water shedding away instead of pooling against the wall.
Metal Compatibility
Mismatched metals corrode each other over time and can stain the surrounding stone. Match your flashing metal to the masonry chemistry, and separate dissimilar metals with a barrier where contact is unavoidable.
Sealant Flexibility and Joint Movement Accommodation
Masonry settles and shifts seasonally. Rigid sealants crack under that movement and lose their seal. This is the single most common root cause of counter flashing failure.
Weathercap's soft lead has low tensile strength, low hardness, and low elastic modulus. That lets it creep into a joint's changed shape rather than resist it, absorbing stress the sealant alone can't handle.
Overlap Length Between Counter and Base Flashing

Insufficient overlap creates a gap for wind-driven rain to bypass the flashing entirely. NRCA recommends at least 2 to 4 inches of overlap between counter and base flashing, depending on the detail. Thin margins here are a false economy.
Common Mistakes When Counter Flashing Stone Walls
A sound counter flash still fails when a few installation details are missed. Avoid these common errors:
- Cutting the reglet too shallow or into the stone face instead of the mortar joint, which weakens the hold
- Using rigid, non-elastomeric sealant that cracks as masonry settles
- Fastening flashing to both the roof deck and the wall, which restricts movement and tears the metal
- Skipping reglet cleanout before sealing, so dust and debris block sealant adhesion
Check each of these before the sealant skins over—fixes are far harder once the joint is closed.
Troubleshooting Issues While Counter Flashing
Even careful counter flashing can fail if a detail is missed. Use this quick reference when problems show up after installation.
| Problem | Likely Cause | What to Check |
|---|---|---|
| Water staining below flashing line | Insufficient overlap or reverse-lapped sections | Verify overlap direction follows water flow downward |
| Sealant cracking within 1-2 seasons | Rigid caulk can't absorb joint movement | Replace with flexible sealant or add a lead strip buffer |
| Flashing pulling loose from reglet | Reglet cut too shallow, or top-edge sealant failure | Inspect reglet depth; re-seal or deepen as needed |
| Corrosion streaks on stone | Incompatible flashing metal reacting with masonry | Confirm metal matches masonry chemistry and nearby metals |
Alternatives to Traditional Counter Flashing
When a reglet cut isn't practical, other methods can still keep water out of the wall assembly:
- Surface-mounted flashing with sealant — works for retrofits when you can't cut into masonry, but depends almost entirely on the sealant and needs more maintenance over time
- Through-wall flashing systems — better for new construction; more complex to install, yet IIBEC describes them as more reliable than reglet counter flashing alone because they drain water from the wall assembly above the base flashing
- Interposed joint-protection strips — built for high-movement joints at copings, parapets, and right-angle wall junctions; soft lead strips such as Weathercap absorb joint stress so sealant and flashing last longer, at added material cost
Conclusion
Counter flashing works when three things line up: a properly cut reglet, compatible materials, and a sealant that can flex with ongoing building movement. Most failures trace back to that last point — inadequate movement accommodation — rather than a bad choice of flashing metal.
Pairing traditional counter flashing with a proven joint-protection system, like a lead strip interposed within the sealant, delivers long-term durability while keeping maintenance costs in check. It's the same approach specified in GSA Historic Preservation Technical Procedures and used on landmark masonry that has to stay weathertight for decades.
Frequently Asked Questions
What is masonry flashing?
Masonry flashing is thin metal material installed at wall junctions and joints to divert water away from vulnerable areas of a masonry structure. It works alongside base flashing and counter flashing to manage the building's overall water path.
What is gravel stop flashing?
Gravel stop flashing is a metal edge flashing used on low-slope roofs to retain gravel or ballast and direct water off the roof edge. It's a roof-perimeter detail, distinct from wall counter flashing.
What is a drip edge for stone veneer?
A drip edge directs water away from the base or top of stone veneer, preventing moisture from tracking behind the veneer assembly. It complements counter flashing rather than replacing it.
How deep should a reglet be cut for counter flashing?
Depth depends on substrate: mass masonry reglets typically run 1-3/4 to 2-1/2 inches, while a reglet cut directly into a stone unit should generally stay around 1 inch to avoid weakening it.
Can counter flashing be repaired without removing the roof?
Yes. Counter flashing sits at the wall, above the roof plane, so it can typically be accessed, resealed, or replaced without disturbing the roofing materials below it.
What material lasts longest for counter flashing?
Copper and lead typically outlast aluminum in masonry counter flashing, though lifespan still depends on substrate and exposure. Pairing the metal with a flexible joint-protection system—not sealant alone—extends service life for any of these options.