Undersized joints don't give sealant enough room to stretch. Oversized joints stretch it past its rated capacity in the other direction. Both scenarios end the same way: bond failure and moisture infiltration.
This guide walks through the real sizing principles: nominal width, movement calculations, sealant width-to-depth ratios, and how a protective system like WEATHERCAP® can reduce the practical stress placed on a joint, even when field conditions aren't perfect.
TL;DR
- Size joints from nominal width, expected movement, and material expansion—not a single rule of thumb
- Follow ASTM C920 movement classes plus CMHA/SWRI width-to-depth and install guidance
- Undersized and oversized joints both drive premature sealant failure
- WEATHERCAP® can cut effective joint opening in half when set within the sealant
- Have a structural engineer or restoration specialist confirm sizing against real building movement
What Is Expansion Joint Size Selection?
Expansion joint size selection is the process of calculating a joint's correct width and depth so it can absorb thermal, seismic, wind, and settlement movement without the sealant tearing or debonding.
Masonry buildings use several joint types, each serving a different structural purpose:
- Control joints – manage shrinkage cracking in concrete masonry
- Expansion joints – accommodate thermal and moisture-driven growth
- Coping joints – seal the cap atop a parapet wall
- Parapet joints – handle movement in exposed, three-sided wall sections
Core Components of Joint Sizing
Nominal width is the baseline dimension specified in construction documents before any movement adjustment. Treat it as the design baseline before movement is factored in.
Maximum and minimum width represent the outer bounds a joint will actually reach as the building expands and contracts. These figures come directly from the percentage movement capability assigned to the sealant.
Movement capability, expressed as a ± percentage, tells you how much elongation or compression a sealant can handle before it tears. ASTM C920 classifies sealants into movement categories of 12.5%, 25%, 35%, 50%, and, for the newest formulations, 100%/50% expansion and contraction.
Picking the wrong class for your expected movement is one of the most common sizing errors on masonry facades.
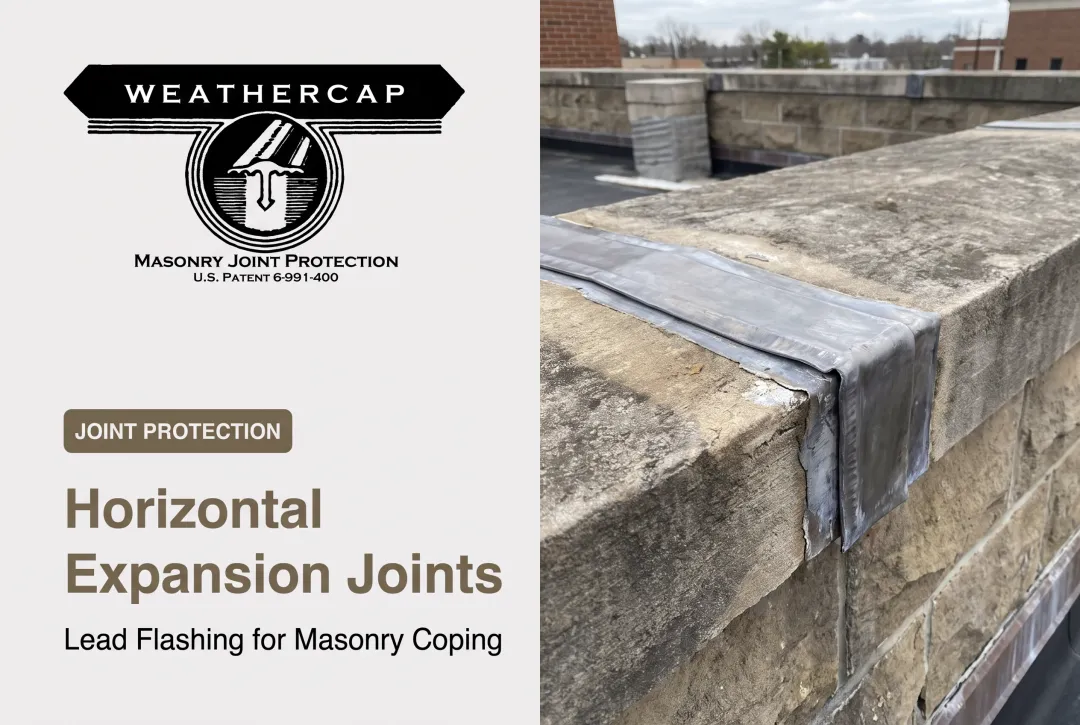
WEATHERCAP® applies the same sizing logic at the product level. Width matters, and so does joint geometry:
- Type A (Flat Cap), sizes A-2 through A-8 — joint I.D.s from under 3/8 in. to under 1½ in.; suited to flat top, side, and cross joints on copings
- Type B (90° Cove Cap), sizes B-2 through B-8 — joint I.D.s from under 5/16 in. to under 1¼ in.; cove profile for right-angle transitions where a wall meets a parapet or lintel

What to Consider When Selecting Expansion Joint Size
Correct sizing ties material science, local climate data, and structural movement into one weatherproofing decision—not a simple lookup table.
Expected Building Movement
Thermal expansion, foundation settlement, and seismic activity all push a joint toward its limits. Brick veneer, for instance, uses a thermal expansion coefficient of roughly 4 x 10⁻⁶ in./in./°F, according to the Brick Industry Association. Add moisture expansion into the mix, and BIA recommends a design coefficient of linear expansion around 5 x 10⁻⁴ in./in.
Local temperature swing matters just as much as the coefficient itself. A building in Minnesota sees a far wider summer-high-to-winter-low range than one in coastal Florida, so identical wall lengths can require different joint widths depending purely on climate.
Sealant Width-to-Depth Ratio
SWRI Technical Bulletin 07 recommends setting backer rod to achieve a 2:1 width-to-depth ratio, with the rod itself sized about 25% wider than the joint opening. This ratio lets the sealant elongate properly instead of stretching in a way that concentrates stress at the bond line.
CMHA's TEK 19-06A notes a different profile for concrete masonry joints between ¼ and ½ inch wide: depth should be no greater than width. Match the ratio to the sealant manufacturer's installation instructions, not a generic industry number.

Masonry Joint Location and Type
Not every joint experiences the same stress. Corners, wall intersections, and changes in wall height or thickness concentrate movement in ways a flat wall section never will. BIA recommends locating joints within roughly 2 feet of a building corner, and parapets need extra attention since they're exposed on three sides with less dead-load restraint.
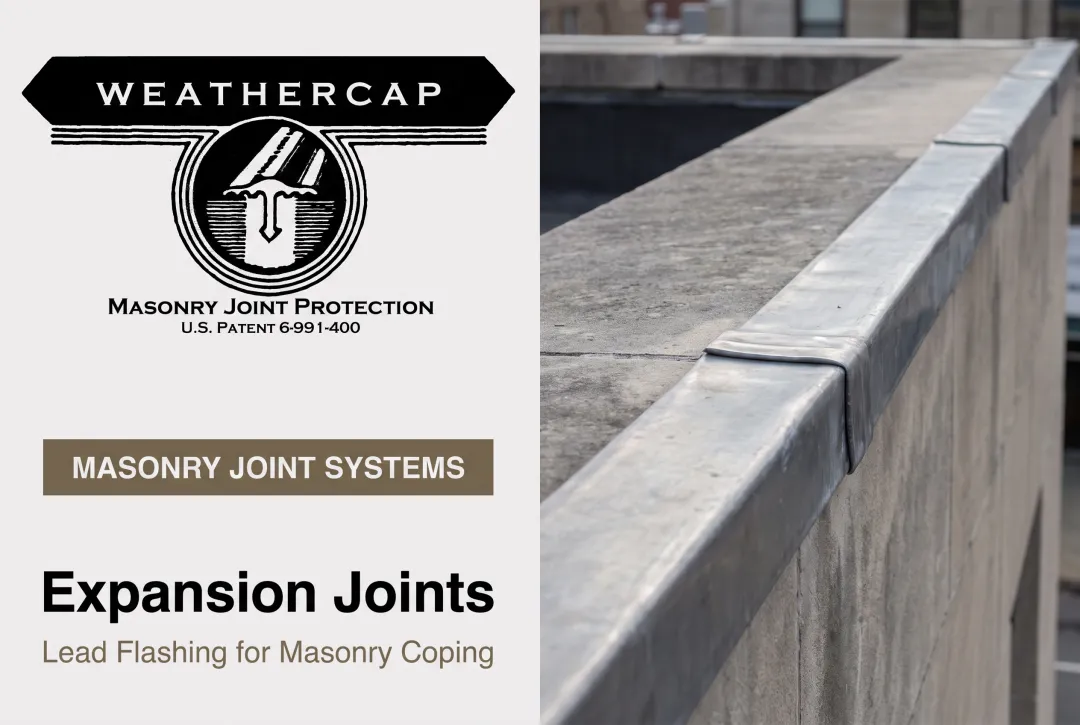
These high-stress zones are where a joint protection cap does the most work. Weathercap Type A (Flat Cap) and Type B (90° Cove Cap) are sized to the joint opening in these layouts:
- Copings and balustrades: flat cap geometry spans top, side, and cross joints
- Parapet-to-wall junctions: cove cap geometry handles right-angle transitions
- Lintels meeting side walls: perpendicular anchorage absorbs movement in two directions
Climate and Environmental Exposure
High humidity, freeze-thaw cycling, and coastal salt exposure all accelerate sealant breakdown. A joint sized correctly for a dry inland climate may fail years earlier on a coastal facade with constant moisture and temperature cycling.
That is why many specifiers add corrosion-resistant, low-maintenance joint covers in aggressive environments rather than relying on sealant alone.
Historic vs. New Construction Requirements
Historic masonry restoration follows a stricter rulebook. Federal buildings and monuments often require joint solutions that comply with GSA Historic Preservation Technical Procedures, including Document 07656-01, "Installing Lead Stone Flashing to Protect Masonry Joints" (the procedure that specifies Weathercap). It defines exact installation parameters:
- Rake joints to a depth equal to the anchor-shaft length plus ¼ inch
- Keep the joint clean, dry, and free of old sealant or debris
- Size the cap width to cover the joint opening, anticipated movement, and an added ¼ inch
- Seat backer rod ¼ inch below the anchor-shaft tip
- Fill with sealant to roughly ⅛ inch above the masonry surface

New construction has more flexibility, but historic work demands this level of documented precision because there's no margin for redoing stonework once it's disturbed.
Spacing and Joint Frequency
Joint spacing and joint width are linked, not independent variables. BIA's spacing formula, Se = wj × ej / 0.09, ties expansion-joint spacing (Se) directly to joint width (wj) and sealant compressibility (ej). For brickwork without openings, BIA recommends spacing no greater than 25 feet; with multiple openings, that shrinks to 20 feet.
Note: the commonly cited 8–12 foot spacing with ⅜" and ½" minimums comes from TCNA EJ171 guidance for exterior tile and stone, not brick or CMU facades. Do not apply tile-industry numbers to a brick veneer joint schedule.
How WEATHERCAP® Can Help
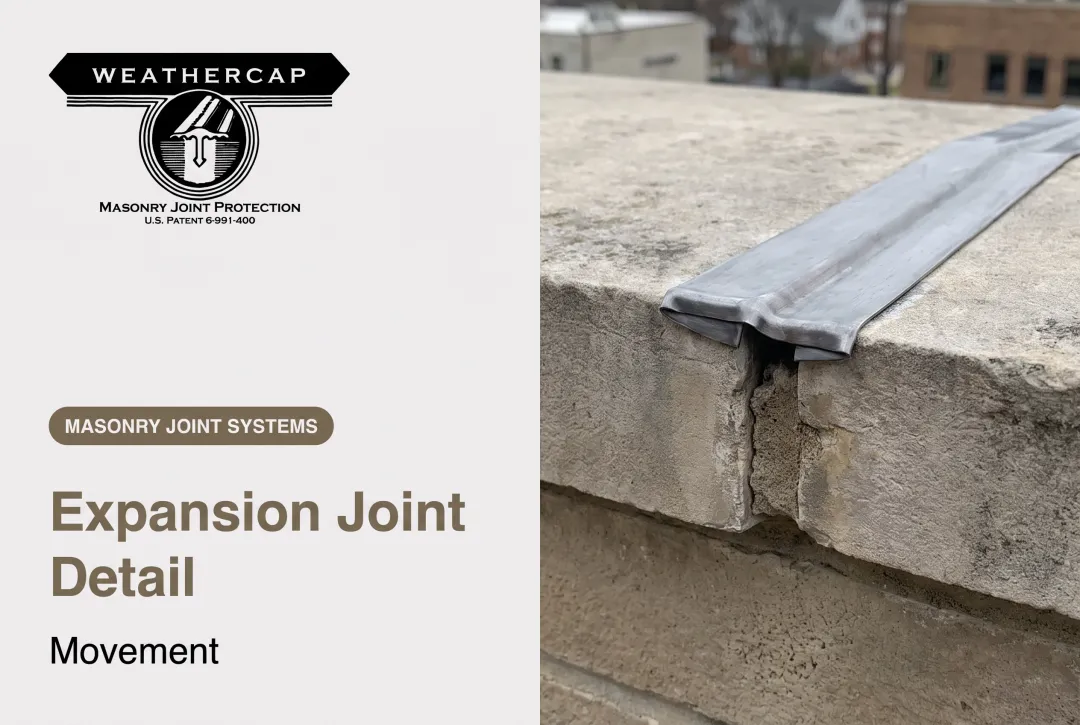
Even a well-calculated joint schedule has a margin of error. Field conditions shift, mortar creeps, and sealant ages faster than anyone predicts. WEATHERCAP®'s patented soft lead strip system, protected under U.S. Patent 6991400, is built specifically to absorb that margin.
Here's what it brings to a joint:
- Reduces effective joint opening by half when interposed within the sealant bed
- Low creep strength lets the lead reshape itself as the building moves, rather than resisting and cracking
- Resists corrosion, mold, and mildew in humid or coastal environments
- Oxidizes to a neutral grey that blends into surrounding masonry within a short time
- Specified in GSA Historic Preservation Technical Procedures, Document 07656-01
Sizing the cap itself follows a straightforward formula: joint opening, plus anticipated maximum movement determined by a scribe test, plus ¼ inch. That combined figure sets the installed outer dimension.
WEATHERCAP® has been used on some of the most demanding masonry restoration projects in the country, including the Washington Monument, U.S. Supreme Court, and Smithsonian Institution. These are buildings where joint failure isn't an option and movement conditions are unforgiving.

For contractors working against a restoration deadline, WEATHERCAP® ships in 6-foot lengths within 48 hours of order placement, so project schedules don't stall on material delays.
Conclusion
Correct joint sizing means matching real movement calculations, sealant capability, and building type to the joint in front of you—not relying on a single rule of thumb. A 3/8 inch joint that works perfectly on a dry inland facade may be undersized on a coastal building three states away. Joint performance also needs ongoing attention. Buildings age, movement patterns shift, and sealant degrades faster in some environments than others. Periodic inspection catches problems before they become full restoration projects. Pairing accurate sizing calculations with a protective system like WEATHERCAP® gives masonry joints a longer service life than sealant alone can provide, especially at the high-stress corners, copings, and parapets where most joint failures originate.
Frequently Asked Questions
How do you size an expansion joint?
Start with the nominal width specified in the design documents, then adjust for expected movement percentage, local temperature swing, and the sealant's required width-to-depth ratio. Movement calculations should reflect your specific climate and wall material.
What are the standard sizes of concrete expansion joints?
No single universal size applies to masonry. The commonly cited 3/8" at 8-foot or ½" at 12-foot spacing is from tile guidance (TCNA EJ171), not brick or CMU; brick veneer typically follows BIA's 20–25 foot range.
What are the rules for expansion joints in concrete?
Use a 2:1 sealant width-to-depth ratio (some concrete masonry profiles differ), space joints per manufacturer and BIA/CMHA guidance, and choose ASTM C920 sealants rated for the expected movement class.
What happens if an expansion joint is sized too small?
An undersized joint forces the sealant to stretch beyond its rated movement capability. This causes tearing, bond failure at the substrate, and eventually water infiltration as the building continues to move past the joint's design limits.
Can a joint protection system reduce the required sealant joint size?
Yes. WEATHERCAP®, interposed within the sealant joint, can reduce the effective opening size by half. The cap absorbs movement stress directly, easing the load the sealant alone would otherwise have to bear.
How often should masonry expansion joints be inspected?
Inspect joints periodically, especially right after seasonal temperature extremes. Look for sealant cracking, gaps forming at the bond line, or any sign of adhesion loss before it turns into water infiltration.