This guide is written for masonry contractors, architects, and the building owners and preservation bodies who specify or maintain parapet details on new construction and historic restoration work. We'll cover why parapets fail, walk through the waterproofing process step by step, compare material and coping joint options, and flag the mistakes that quietly undo an otherwise solid installation.
Key Takeaways
- Parapets take weather on multiple sides and fail from water far more often than roof decks
- Roof-to-wall transitions and coping/cap joints are the two most common failure points
- Durable systems need both a compliant membrane and movement-tolerant sealing at the coping
- Match materials to wall finish and climate—not a one-size-fits-all product
- Regular inspection and prompt sealant repair add years to any parapet system
Why Parapet Walls Are So Vulnerable to Water Damage
Unlike a field wall tucked beneath an eave, a parapet stands exposed on three sides simultaneously. According to the IIBEC, parapets experience moisture and temperature swings on both faces at once, and roofing, waterproofing, wall flashing, and drainage systems all converge at this one narrow assembly.
When any of those systems is poorly coordinated, water finds a way in.
Primary causes of parapet failure include:
- Poor slope or drainage design that lets water pool at the base of the wall
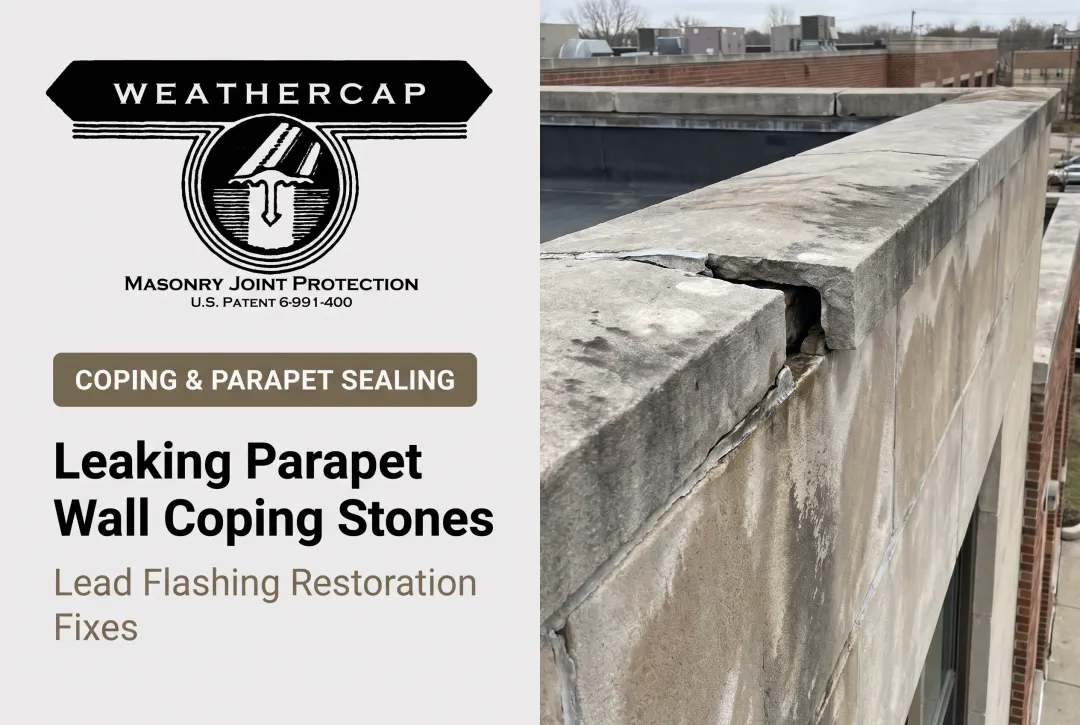
- Cracked, displaced, or improperly anchored coping
- Deteriorated plaster, stucco, or masonry allowing moisture absorption
- Failed caulk or sealant joints that have opened under building movement
The riskiest zones on any parapet are predictable once you know where to look:
- The slab-to-parapet junction - where horizontal roof meets vertical wall
- Inside corners - where two planes of membrane must be reinforced, not just folded
- The top coping surface - the single most weather-exposed plane on the entire roof
- Joint and fastener penetrations - anywhere a screw, dowel, or seam breaks the membrane

Water entering through a hairline crack at any of these points doesn't necessarily show up where it enters. It travels along the substrate, sometimes for months, before staining an interior ceiling or wall far from the original leak.
By the time damage is visible, the underlying deterioration is usually well advanced.
How to Waterproof a Parapet Wall: The Step-by-Step Process
Waterproofing a parapet is a layered system, not a single product rolled out and called done. Sequence matters here almost as much as material selection, because each layer depends on the one beneath it being installed correctly.
Start by assessing the wall's construction. Is it capped or uncapped? Masonry, metal, or stucco finish? This determines which membrane and sealant combination the job actually needs.
Many self-adhering membranes used on parapets are manufactured to meet ASTM D1970, which covers thickness, adhesion, thermal stability, and nail-sealing performance. Originally written for roof eaves and valleys, it remains a useful benchmark for membrane quality on a parapet as well.
One detail gets missed constantly: the coping and any joint fillers at the top of the wall have to be planned as part of this same system from the start, not bolted on after the membrane goes down.
The Brick Industry Association identifies the roof-deck-to-parapet intersection as a critical interface for resisting water penetration. Treating that junction as an afterthought is one of the fastest ways to end up with a leak within a year or two.
Step 1: Inspect, Repair, and Prepare the Surface
Clear all debris from the wall face and roof deck junction. Repair visible cracks in masonry or stucco before anything else touches the wall. Prime weathered substrates so the membrane actually bonds instead of sitting on a dusty, chalky surface that will let it peel loose within a season.
Step 2: Treat the Roof-to-Wall Transition
Install a starter strip of membrane split between the roof deck and the vertical wall face, reinforcing this high-failure junction. Add a fillet bead at the intersection to create a smooth transition rather than a sharp angle where the membrane could crack or bridge.
Step 3: Install the Vertical Wall Membrane
Apply a full-width membrane sheet up the wall, extending it over or under the coping/cap. If the cap can't be removed for a clean tuck-in, terminate the membrane with a termination bar and a sealant bead to keep water from working behind the edge.
Step 4: Seal and Protect the Coping Joints
The top of the wall takes more direct weather than any other surface on the parapet. It needs a dedicated, flexible joint-sealing approach, not just an extension of the vertical membrane.
Remove failed sealant, install backer rod to control depth, and tool a fresh sealant joint. Cover the sealant with a protective joint cap so UV, moisture, and building movement don't reopen the joint. Material options for that cap system are covered in the section below.
Step 5: Overlap, Roll, and Finish
Overlap seams by at least 3 inches, though many manufacturer specs call for 6 to 8 inches at flashing-to-roof joints. Always check the system's data sheet rather than assuming a universal number. Orient every seam so water flows over it, never against it. Hand-roll all seams to guarantee full contact and eliminate trapped air.

Choosing the Right Waterproofing Materials and Coping Joint Systems
Material selection has to match the wall's final cladding:
- Metal caps need high-heat-rated membranes (some manufacturers rate lines up to 300°F for use under metal coping)
- Masonry and stucco finishes need vapor-permeable membranes so trapped moisture can escape rather than blister the wall
- Exposed sections need UV-stable membranes that won't degrade after years of direct sun
The coping joint itself is where most systems fall apart:
| Joint fill material | Strengths | Weaknesses |
|---|---|---|
| Mortar | Traditional, low cost | Prone to cracking under differential movement |
| Polyurethane sealant | Economical, paintable | UV-sensitive over time, shorter service life |
| Silicone sealant | UV-stable, long-lasting | Can stain porous natural stone without testing |
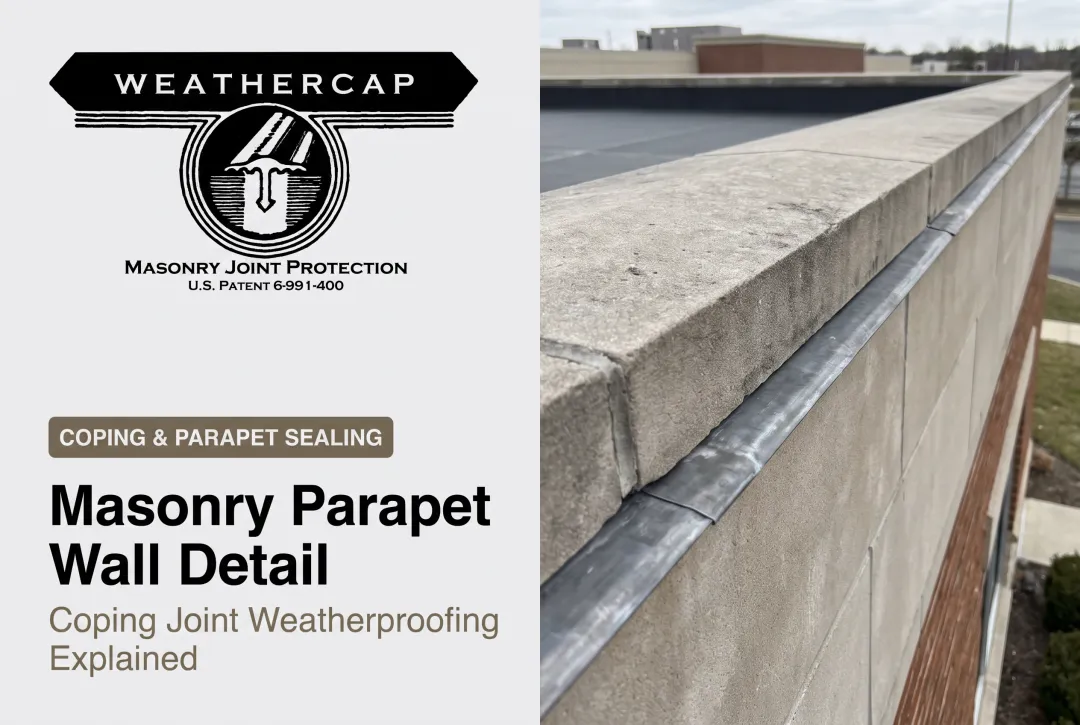
| Lead strip joint protection | Flexes with movement, corrosion-resistant | Requires careful handling during installation |
Why does standard caulk keep failing at copings? It's not designed to absorb ongoing building movement and settlement. As the joint stretches and contracts season after season, the sealant eventually tears or pulls away from the substrate, opening a direct path for water.
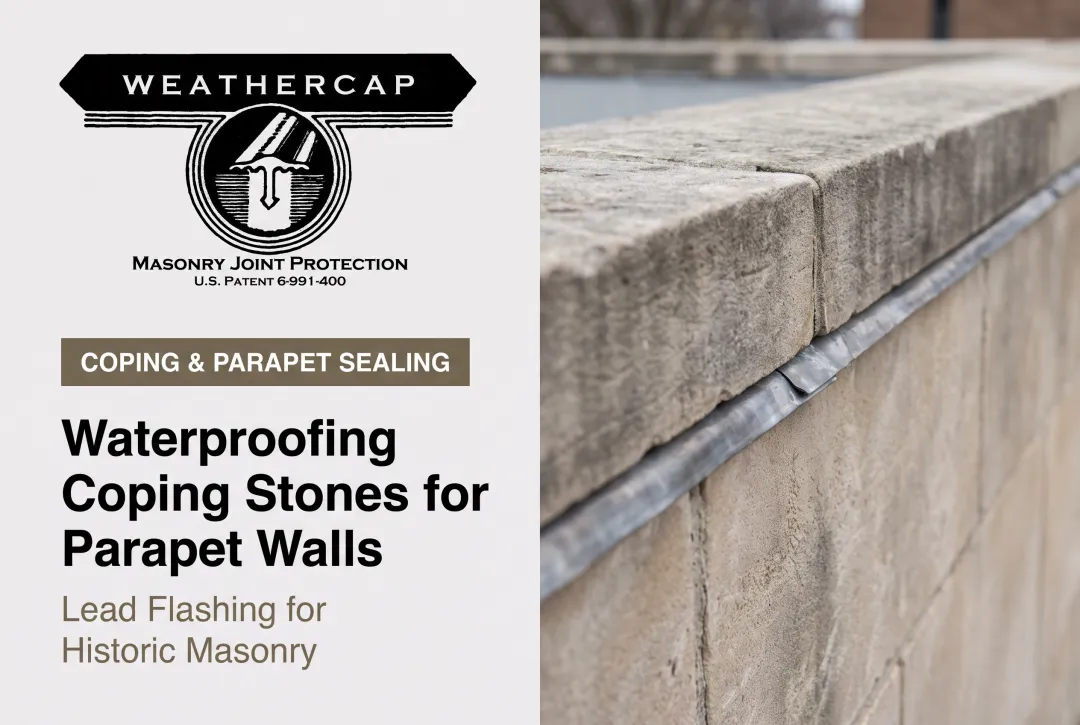
This is the specific problem Weathercap® was built to solve. It's a patented soft lead strip, made from 99.9% pure lead, interposed within the sealant joint itself at copings and right-angle wall junctions. Rather than replacing caulk, it works alongside it.
The lead flexes with building movement instead of tearing. Soft enough to conform continuously to a shifting joint, it cuts the opening the sealant has to bridge by about half. Less movement demand on the sealant means a longer-lasting seal.
The system is specified in the U.S. General Services Administration's Historic Preservation Technical Procedures (Document 07656-01). It has been used on restorations at the Washington Monument, the U.S. Supreme Court, the Smithsonian Institution, and dozens of other federal buildings, state capitols, and university landmarks where joint failure isn't an acceptable outcome.

For added redundancy, especially where stone copings are anchored with dowels that penetrate the waterproofing layer, pair any coping detail with metal through-wall flashing beneath the cap.
Common Mistakes That Cause Parapet Waterproofing to Fail
Even well-funded projects run into the same handful of errors:
- Stopping at the roof deck. Crews seal the roof field thoroughly, then rush or skip the parapet wall and coping—leaving the most exposed surface undertreated.
- Using rigid joint materials. Mortar or hard fillers that can't flex under thermal movement crack within a few seasons, right where flexibility matters most.
- Skipping corner reinforcement. Inside corners and joint intersections crack first and widen fastest. Leave them unreinforced and you guarantee an early callback.
These mistakes share one root cause: treating the coping and vertical wall as an afterthought instead of one continuous system.
Conclusion
Parapet waterproofing works when the membrane system, the roof-to-wall transition, and the coping joint are addressed together, not as separate projects.
Match materials to the wall's finish, climate exposure, and expected movement. That matters most on historic or high-value structures, where failure costs more than a repair bill.
Inspect parapets at least twice a year, ideally before rainy seasons. Repair coping cracks or failed sealant as soon as they appear. That habit alone prevents most of the interior damage parapet failures eventually cause.
Frequently Asked Questions
How do you waterproof the top of a parapet wall?
Use a slightly sloped, well-sealed coping cap, then protect the joints with a flexible filler or lead strip that tolerates building movement. That joint protection works with—not instead of—the membrane on the vertical wall below.
Which waterproofing is best for parapet walls?
There's no single best material. The right choice depends on cap type (metal, masonry, or stone) and climate exposure. Self-adhering membranes paired with flexible coping joint protection give durable, movement-tolerant results in most conditions.
What material is used at the top of a parapet wall?
Common coping materials include concrete, stone, and metal. Joint-fill options range from mortar, polyurethane, and silicone to lead strip systems that better tolerate ongoing movement.
How often should parapet walls be inspected for waterproofing issues?
The National Roofing Contractors Association recommends inspecting roofing components at least twice yearly, in spring and fall, plus after any severe storm. Check coping condition, joint sealant, and drainage paths each time.
What causes caulk and sealant joints to fail on parapet walls?
Ongoing building movement and settlement stretch and eventually tear standard sealant joints, especially at copings and right-angle wall junctions. Over time this creates gaps that let water in.
Can lead be used to waterproof masonry joints on parapet walls?
Yes. Soft lead strip systems are widely used in historic restoration to cover and protect sealant joints. They flex with building movement, resist corrosion, and can be painted to blend with surrounding masonry.