Improper detailing at the roof-to-wall transition, coping, and joint areas is a common cause of leaks. Water finds its way in, moisture damage spreads, and repair bills climb fast.
This guide covers parapet anatomy, waterproofing details, common failure points, and the code requirements that govern height and safety.
Key Takeaways
- Parapets are exposed on 3+ sides, requiring continuous water, air, thermal, and vapor control layers
- Coping caps and expansion joints are the most common failure points on masonry parapets
- The 2024 IBC and OSHA govern minimum height, fire-resistance, and safety requirements
- Joint protection beneath copings absorbs building movement and extends sealant life
What Is a Flat Roof Parapet Wall?
The 2024 IBC defines a parapet as "the part of any wall entirely above the roof line." That sets it apart from a flush roof edge, where the roof stops at the wall with no vertical extension above it.
Parapets aren't just decorative. They serve several functions:
- Fire separation between adjacent buildings or roof sections
- Wind-uplift resistance for the roof membrane and edge metal
- Fall protection for workers and maintenance crews
- Concealment of rooftop equipment, ductwork, and mechanical units
- Roofline definition that shapes the building's profile
What Are the Walls Around a Flat Roof Called?
These walls are called parapet walls. They're most often built from masonry, concrete, or wood/metal framing, and each material changes how the roof-to-wall junction needs to be detailed. Masonry parapets often rely on the deck for air control; framed parapets need a deliberate air barrier in the assembly. Coping, cap flashings, and joint protection at the top of the wall all follow from that material choice.
Anatomy of a Flat Roof Parapet Wall Detail
A parapet detail should be read from the roof surface upward: membrane and base flashing, the parapet wall itself, insulation and cavity, and finally the coping cap.

Membrane Upstand and Termination
Vertical flashings should extend a minimum of 8 inches above the finished roof surface, according to Roofing Contractor, an industry-standard convention rather than a universal code minimum. Terminations should be fastened at 6- to 8-inch spacing. Skimp on upstand height, and wind-driven rain climbs right over the top.
Coping Caps: Slope, Cleats, and Drips
The coping cap sheds water off the top of the parapet and locks the wall assembly together. Per NRCA's Professional Roofing, cap details should include:
- Inward slope toward the roof for positive drainage
- Continuous cleat on the front face for uplift resistance
- Membrane flashing extending under the coping cap as secondary protection
- Drip edges on both front and back faces to keep water off the facade
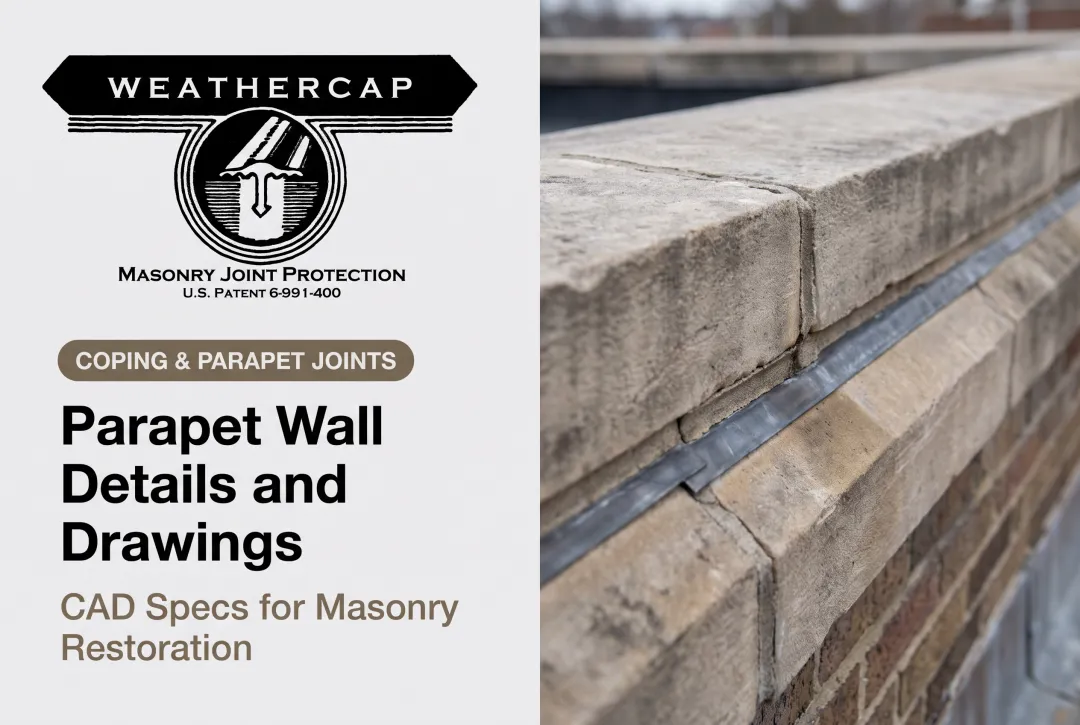
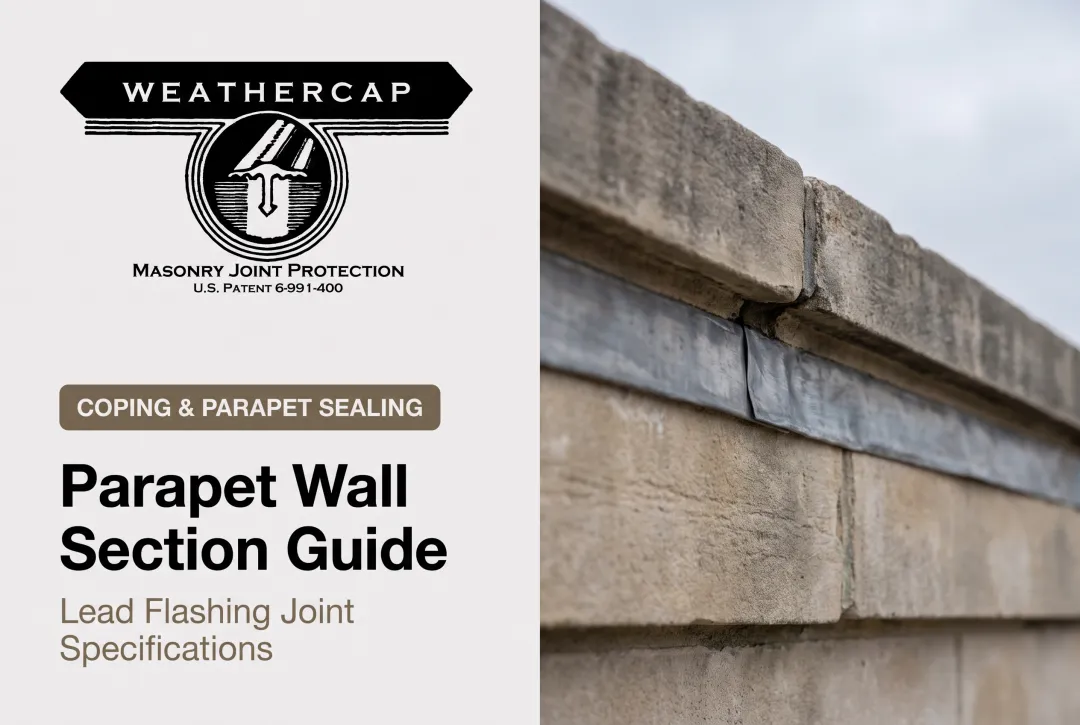
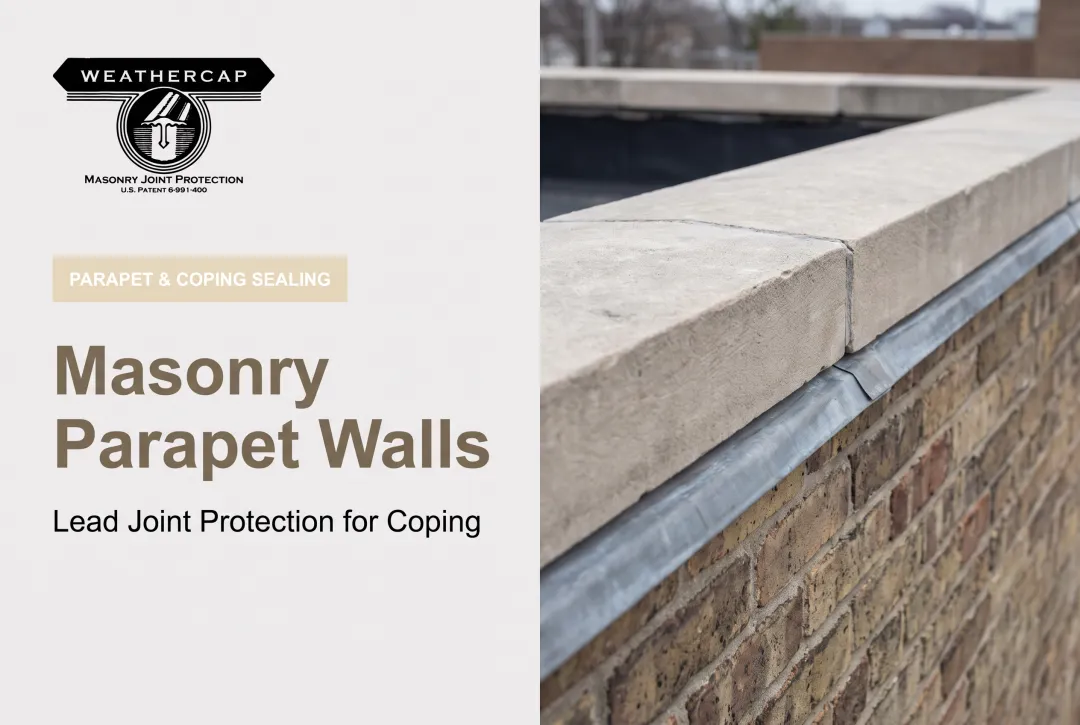
Coping joints are a known weak spot — both metal and stone copings tend to leak right at the seams, according to Building Science Corporation's BSI-050 parapet insight. Soft lead joint caps, such as Weathercap Type A or Type B strips, are often specified over sealant at those coping seams to keep movement from reopening the joint.

Cavity Trays and Weep Holes
In masonry parapets, through-wall flashing and weep holes drain incidental moisture that gets into the wythe. Spacing varies by reference: 24 inches on center for open head joints, tighter for wick materials. Coping units should overhang the masonry face by at least 4 inches on each side.
Venting in Wood-Framed Parapets
For framed parapets, Hammer & Hand recommends high/low venting in cavities more than 12 inches above the roof insulation, with protection against bulk water at the vent openings. PHIUS guidance takes a different angle: limit uncontrolled airflow and rely on a vapor-permeable air barrier instead of vent holes alone. Neither approach replaces a continuous air barrier.
Read bottom to top—membrane upstand, wall and cavity controls, then coping—and every layer has to terminate cleanly, or water finds the gap.
Why Parapets Fail: Water, Air, and Thermal Continuity
Here's the core problem: a parapet requires four control layers: water, air, thermal, and vapor — to stay continuous across the roof-to-wall transition. Break any one of them, and trouble follows.
GAF's building science team notes that air leakage carries far more moisture than vapor diffusion ever does. A gap in the air barrier lets warm, moist interior air migrate into the cold parapet zone, where it condenses. Add a thermal bridge from discontinuous insulation, and you get:
- Condensation on interior surfaces
- Sheathing or structural damage
- Energy loss
- Membrane tearing from differential movement
Masonry Joints: The Most Vulnerable Point
Coping joints and parapet corners absorb more building movement and thermal stress than almost any other part of the structure. Standard caulk and sealant weren't built to handle that kind of repeated flexing on their own.
This is where Weathercap's patented soft lead strip system comes in. It works as an adjunct to sealant, interposed within the sealed joint to buffer stress from building movement and settlement. The lead's low elastic modulus and creep strength let it flex into the joint's new shape as movement occurs, rather than tearing or shearing.
Interposing Weathercap between sealant layers reduces the effective masonry joint opening by roughly half, cutting the burden on the sealant itself.
That reduction matters in humid climates too, since the lead resists corrosion, mold, and mildew where conventional joint fillers can degrade. Weathercap's system is specified in GSA Historic Preservation Technical Procedure 07656-01, "Installing Lead Stone Flashing to Protect Masonry Joints," which specifically covers parapets, copings, balustrades, cornices, and belt courses on historic structures.

Common Parapet Configurations and Materials
Framing type changes how complex the detailing gets:
- Flush-edge parapets — simplest transition, minimal height above roof
- Platform-framed parapets — built atop the wall framing below, straightforward air-barrier tie-in
- Balloon-framed parapets — wall studs run continuous past the roof line, requiring more careful air-sealing at the intersection
Shape matters too. Flat parapets are standard on true flat roofs, while stepped or curved parapets show up on sloped-roof buildings or where architectural style calls for it.
Material choice drives long-term joint performance. Masonry and stone parapets are common on historic and institutional buildings such as courthouses, capitols, and museums.
These structures need specialized joint protection during restoration. Their coping and cornice joints were often built long before modern sealant technology existed. Weathercap's Type A (flat cap) is specified for coping and balustrade joints, while Type B (90° cove cap) applies where cornices or belt courses meet a parapet or side wall.
Height, Code, and Safety Requirements
IBC Fire and Height Rules
Under 2024 IBC Section 705.12, exterior walls generally require parapets unless one of these exceptions applies:
- Fire separation distance exempts the wall from fire-rating under Table 705.5
- Building floor area is 1,000 square feet or less
- Roof is at least 2-hour fire-rated or entirely noncombustible
Where required, the parapet must match the wall's fire-resistance rating, with the uppermost 18 inches noncombustible on the roof side. Minimum height is 30 inches above the roof-wall intersection.

Do You Need a Parapet on a Flat Roof?
Not always. The IBC exceptions above can eliminate the fire-rated parapet requirement. But parapets may still be needed for roof-access guard requirements or where fire separation distance creates opening-protection conditions on adjacent buildings.
What Is the OSHA Standard for Roof Parapet Height?
OSHA 1910.29(b) sets guardrail top edges at 42 inches, plus or minus 3 inches — commonly cited as the 39- to 45-inch range. A parapet under 21 inches still needs intermediate guard members to meet fall-protection criteria.
Always confirm final heights and exceptions with the authority having jurisdiction; local amendments can exceed IBC or OSHA minimums.
Frequently Asked Questions
What are the walls around a flat roof called?
Parapet walls: vertical extensions above the roofline that add fire separation, wind resistance, and fall protection, and can conceal rooftop equipment.
Do you need a parapet on a flat roof?
Not automatically. The IBC requires parapets on most exterior walls, but exceptions exist for small floor areas, non-rated walls, or fully noncombustible roofs. Roof access guard rules may still require one.
What is the OSHA standard for roof parapet height?
OSHA's guardrail criteria call for a top edge of 42 inches, plus or minus 3 inches (commonly cited as 39 to 45 inches) when the parapet serves as fall protection.
What causes most parapet wall leaks?
Coping cap failures, insufficient membrane upstand height, and deteriorated sealant at masonry joints are the leading causes. Joints at corners and copings absorb the most building movement, making them especially vulnerable.
How often should parapet coping and joints be inspected?
Annually, plus after any major storm event. Pay close attention to coping seams, corner joints, and sealant condition, since these areas fail first.
Can existing masonry parapet joints be repaired without full reconstruction?
Yes. Weathercap lead strips can be set into a raked-back, cleaned joint over fresh sealant, restoring protection without demolishing the existing masonry.