Control joints solve this by giving the wall a place it wants to crack—a straight, sealable line instead of a jagged one through your best brick course.
This guide covers what control joints actually are, where to put them, how far apart they should be spaced, and how to keep them watertight for decades instead of years. Unmanaged cracking doesn't just look bad. It opens a direct path for water infiltration, and repairs on cracked facades (especially historic ones) get expensive fast.
Key Takeaways
- Control joints create engineered weak planes that force shrinkage cracks into a straight, sealable line
- NCMA TEK 10-2C recommends ~25 ft maximum spacing with a 1.5:1 length-to-height ratio
- Horizontal reinforcement must break at every control joint, or the joint can't open as designed
- Sealant alone degrades under UV and movement; protective joint systems shield the sealant and extend service life
What Is a Masonry Control Joint?
A control joint is a vertical plane of intentional weakness built into concrete masonry, cast stone, or precast concrete. Its job is simple: control where shrinkage cracking happens, not whether it happens at all.
Cementitious materials shrink as they cure and continue moving slightly with temperature and moisture cycles for the life of the building. Without a designed release point, that stress accumulates until the wall cracks somewhere, usually at a weak spot like a window corner or a mortar joint that just happened to be thinner than the rest.
Control joints work alongside horizontal reinforcement to concentrate that stress into a single vertical line. At the joint itself, mortar is typically omitted or raked back so the gap can be filled with backer rod and sealant instead. That's a key distinction from a structural joint, which is mortared solid and never meant to move.
Control Joints vs. Expansion Joints
These two get confused constantly, and mixing them up is a costly mistake.
- Control joints manage CMU, cast stone, and precast shrinkage (materials that get smaller over time)
- Expansion joints accommodate clay brick's irreversible moisture expansion (brick that gets larger over time)
- Putting a control joint in brick veneer (or vice versa) can make cracking worse, because the joint is built for the wrong direction of movement
If your wall combines CMU backup with brick veneer, you need both joint types, detailed separately, at different spacing.
Where to Place Control Joints and Spacing Guidelines
NCMA TEK 10-2C sets the industry benchmark for standard reinforced CMU: maximum spacing of roughly 25 feet, with a panel length-to-height ratio not exceeding 1.5:1. That ratio matters as much as the raw distance. A tall, narrow panel needs a tighter joint even under 25 feet.

Spacing is only half the equation. Placement should prioritize natural stress concentration points first:
- Wall openings (windows, doors)
- Changes in wall height or thickness
- Corners and wall intersections
- Material transitions (where CMU meets a different substrate)
Full-Height Joints, No Shortcuts
A control joint that stops short doesn't eliminate the stress. It just relocates the crack. Joints should run the full height of the wall, including below grade and through soldier courses above openings. Stopping a joint above a lintel is one of the most common ways a "controlled" wall ends up cracking anyway.
Reinforcement Rules
Horizontal ladder or bed-joint reinforcement must be discontinuous at every control joint. If it runs straight through, it pins the joint shut and defeats the entire purpose. Structural bond beams are the exception: those typically remain continuous, but only where an engineer has specifically designed for it.
Per NCMA TEK 10-3, adding horizontal reinforcement can extend spacing beyond 25 feet or even eliminate joints near repetitive openings, but this requires project-specific engineering, not a default assumption.
What Happens When Spacing Goes Wrong
The International Masonry Institute documented a veneer joint failure on a large hospital project where movement joints were placed 42 feet apart, well beyond recommended spacing, and a corner crack resulted.
IMI also warns against placing a control joint at the end of a masonry lintel, since jamb reinforcement bonded to the lintel steel can pin the joint and prevent it from moving at all. Their guidance: keep joints at least 24 inches from openings, with spacing capped around 25 feet on-center.
Sealing and Protecting Control Joints for Long-Term Performance
A control joint that cracks correctly is only half the battle. If the sealant fails, water gets in through the exact spot you engineered to move.
Sealant and caulk alone face a tough environment: ongoing building movement, UV exposure, and thermal cycling all work against the bond. That combination is what eventually opens leaks at joints built to manage cracking.
Why a Protective Strip Helps
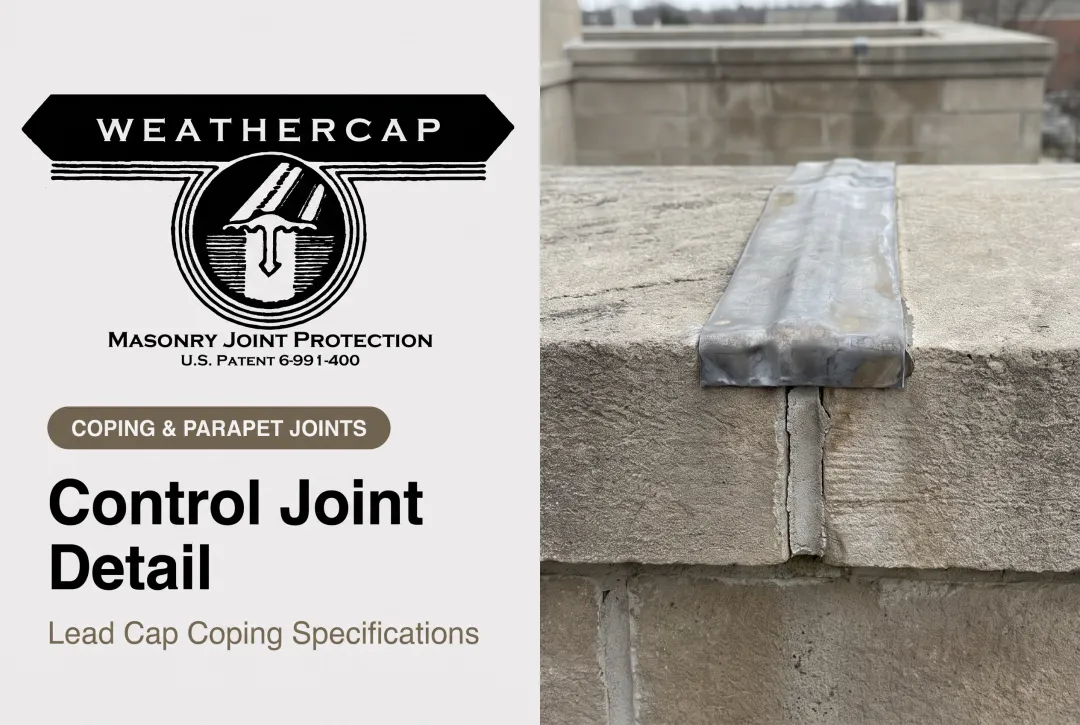
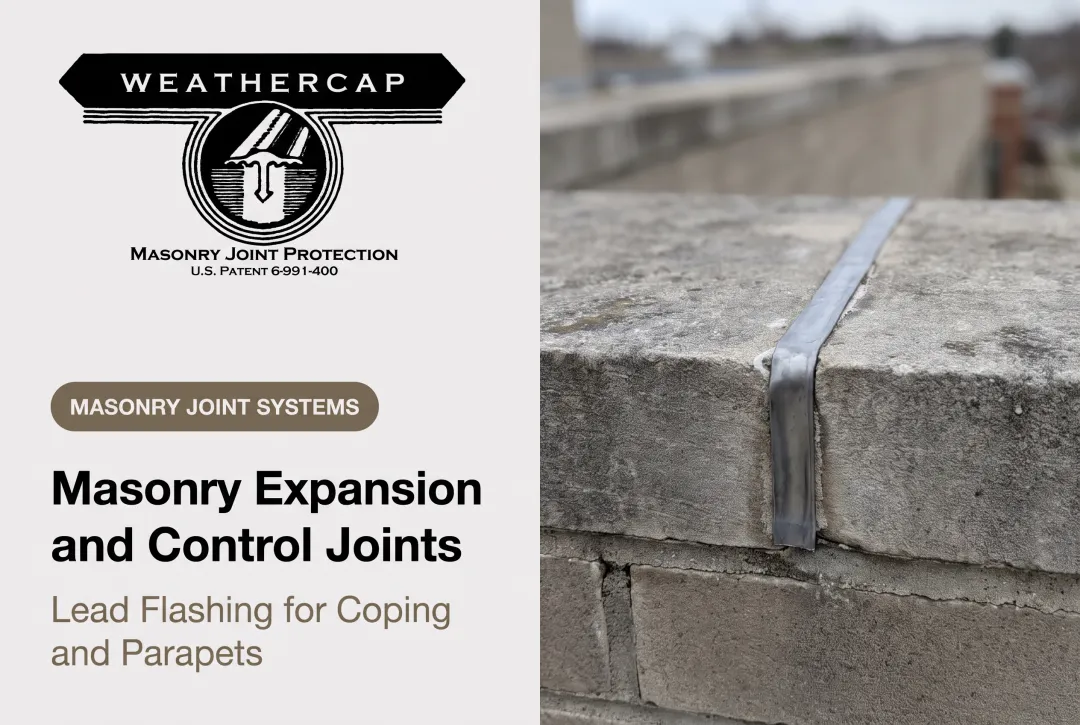
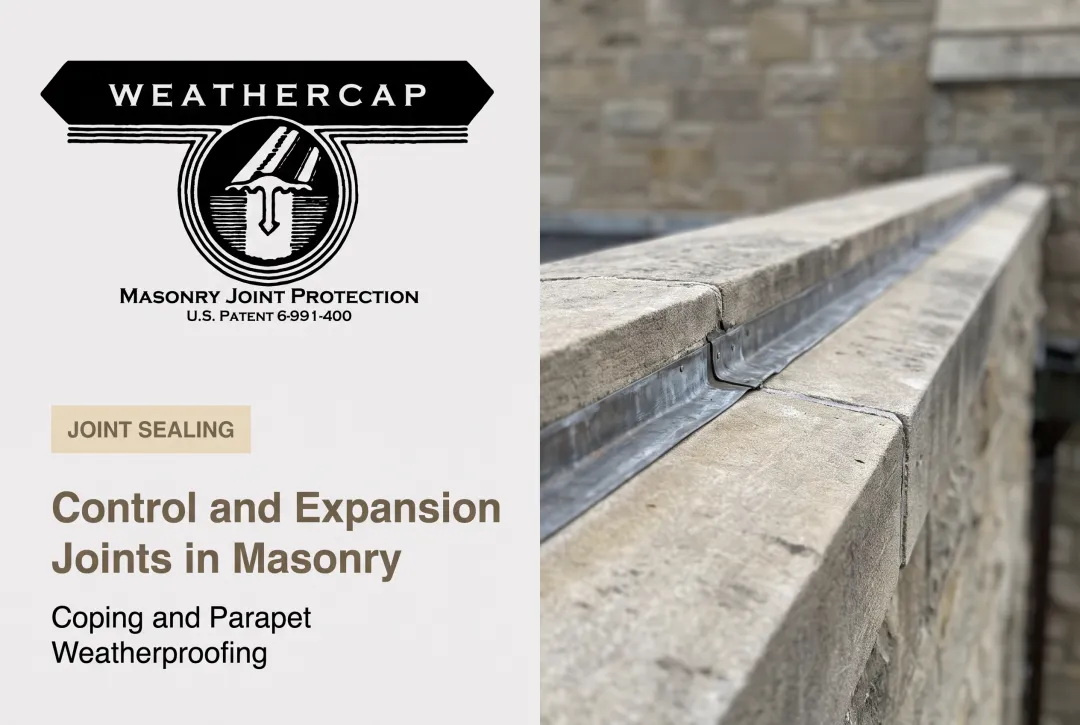
Weathercap's patented soft lead strip addresses that gap. Instead of relying on sealant alone to bridge the full joint width, the lead strip sits in the joint, absorbs movement stress, and reduces the effective opening size by half. The sealant then spans a smaller gap and does less work over the building's life.

The material properties matter here:
- Low creep strength lets the lead gradually conform to the joint's new shape instead of resisting movement
- Low elastic modulus supports ongoing adjustment within design limits, indefinitely
- Lead keeps contact as the joint shifts, rather than springing back and leaving gaps
Weathercap's approach has been specified on GSA Historic Preservation restoration work at the Washington Monument, U.S. Supreme Court, and Smithsonian Institution—projects where a failed joint threatens the building fabric, not just appearance.
Those same material traits show up as day-to-day performance advantages on commercial and institutional work:
Practical Performance Benefits
- Resists corrosion, mold, and mildew in humid climates where sealant alone breaks down faster
- Accepts paint; the surface oxidizes to a neutral grey that blends with most masonry
- Holds up under ongoing building movement without tearing the way rigid joint fillers can
Backer Rod and Sealant Basics
Before adding any protective system, get the baseline geometry right:
- Backer rod should be roughly 25% larger than the joint width
- Sealant depth should be about half the joint width
- For Weathercap applications specifically, the joint should be raked to accommodate the anchor shaft plus ¼ inch, with sealant filled to about ⅛ inch above the masonry surface

Common Mistakes in Control Joint Design and Installation
Most control joint failures trace back to one of three errors:
- Stopping joints short. A joint that doesn't run full height—at the wall base or above an opening—only moves the crack elsewhere, often into an area that's harder to waterproof.
- Continuous reinforcement across the joint. If horizontal steel runs straight through without a break, the joint cannot open as designed. This is a design error, not a workmanship error, and it's surprisingly common.
- Skipping joints in veneer. Non-structural CMU veneer shrinks like load-bearing block. Treating it as exempt because it's "just veneer" leads to cracked, leaking walls within a few years.
Are Control Joints Required by Code?
Are control joints in masonry required by code?
Building codes reference TMS 402 and NCMA/ACI standards, which effectively require control joints wherever shrinkage-prone masonry is used to manage cracking risk. There's no single blanket "install every 25 feet" code mandate, but skipping them invites predictable failure.
Do masonry walls (CMU or concrete) need control joints?
Yes. CMU, cast stone, and precast concrete all shrink over time and need control joints. Clay brick behaves differently and needs expansion joints instead, since brick expands rather than shrinks.
Where should control joints be placed in masonry walls?
Priority locations are wall openings, corners, changes in wall height or thickness, and material transitions. These are the points where shrinkage stress concentrates first.
What is the recommended spacing for control joints in masonry walls?
NCMA TEK 10-2C recommends a maximum of roughly 25 feet, with a panel length-to-height ratio no greater than 1.5:1 for standard reinforced CMU.
Can a control joint be added to an existing wall?
Retrofitting is possible, but it requires careful cutting along the intended plane and proper resealing. Done poorly, a retrofit joint can create a new water infiltration path instead of solving the original problem.