Poor jamb detailing doesn't just cause the occasional drip. It leads to sealant failure, deteriorated backing, mold, and repair bills that climb fast once water gets behind the veneer.
This article breaks down the anatomy of a proper brick veneer window jamb detail, the configurations architects choose from, where these details typically fail, and what can be done to protect the sealant joint long after the crew leaves the site.
Key Takeaways
- Design the jamb so frame, cavity, WRB, and flashing form one continuous drainage assembly
- Trace most jamb leaks to broken flashing laps or degraded sealant, not the brick itself
- Keep cavity width at a 1- to 2-inch minimum, depending on backing type
- Plan beyond sealant alone; supplemental joint protection extends service life when joints move
- Coordinate jamb sections with GSA standards on historic or landmark masonry work
What Is a Window Jamb Detail?
A window jamb, per the WDMA Window Glossary, is simply "the upright or vertical members forming the side of the frame." That's the physical component.
The jamb detail is the drawing that shows how everything comes together at that vertical edge: the window frame, the brick veneer wythe, the air cavity, the water-resistive barrier (WRB), flashing, and the sealant joint that closes the gap between frame and masonry.
This detail matters for two reasons:
- Structural — shows how the frame attaches to the backing (not the veneer) and how much differential movement the assembly must accommodate
- Weatherproofing — maps how incidental water gets managed and routed outside instead of into the wall cavity
Get the jamb detail wrong on paper, and the field crew has no way to build it right.
Anatomy of a Brick Veneer Window Jamb Detail
A properly detailed jamb includes six layers working together: brick veneer wythe, air/drainage cavity, WRB, window buck or frame, insulation, and interior finish. Each layer has a job, and none of them work in isolation.
The cavity is the backbone of the system. According to Brick Industry Association Technical Note 28, wood-stud veneer construction requires a minimum 1-inch air space. For cold-formed steel framing, BIA TN 28B requires at least 1 inch and recommends 2 inches, with prescriptive maximums up to 4-5/8 inches depending on tie size. Masonry-backup cavity walls are typically detailed at a 2-inch minimum.
Its job is simple: move water that gets past the brick face down to flashing and out the weep holes—without interruption.

Reveal Configurations
How the window sits relative to the brick face affects both looks and buildability:
- Flush jamb — window frame sits flush with the brick face; minimal shading, simplest detailing
- Half-brick reveal — frame is set back roughly half a brick's depth, giving moderate shadow lines and a bit more room for flashing returns
- Full-brick reveal — frame is recessed a full brick depth, creating strong shading and a more traditional look, but demanding tighter coordination between buck depth and flashing extension
Deeper reveals look better on masonry-forward facades, but they also multiply the number of surfaces flashing has to wrap and seal.

Flashing and Sealant Placement
Flashing at the jamb should be fully adhered to the interior wythe and lap down over the sill's through-wall flashing, per BIA Technical Note 21B.
Critical perimeter rules:
- End dams — where flashing is discontinuous, turn each end up at least 1 inch so water exits the system instead of dumping into the cavity
- Sealant joint — the joint between window frame and brick veneer is the first defense against wind-driven rain and air infiltration; BIA TN 28B calls for 1/4 to 1/2 inch, sized to the sealant's movement rating and specified to ASTM C920
When you draft the jamb section, start from BIA's Technical Notes and show frame attachment, cavity, WRB lap, flashing termination, and sealant geometry in one cross-section.
Common Failure Points in Brick Veneer Window Jambs
The brick itself is rarely the problem. Brick is porous by design and expected to absorb some water. Failures happen at the interruptions: the openings.
Moisture problems in buildings are widespread. The EPA's Building Assessment Survey and Evaluation study, which surveyed 100 buildings across 37 U.S. cities, found that 85% had experienced past water damage and 45% had ongoing leak problems. The figure is not masonry-specific, yet it shows how common and costly water intrusion remains across the building stock.
At the jamb specifically, the usual suspects are:
- Improperly lapped flashing — gaps where head, jamb, and sill flashing don't overlap correctly
- Mortar bridging — droppings that clog the cavity and dam water instead of letting it drain
- Missing end dams — allowing water to run off the ends of discontinuous flashing straight into the wall
- Degraded sealant joints — the perimeter caulk simply gives up before anyone notices
Building movement compounds the risk. Thermal cycling, settlement, and differential expansion between the brick veneer and the window frame constantly stretch and compress that sealant bead. Over years, this cyclical stress opens micro-tears long before the sealant looks visibly bad.

Protecting the Jamb Sealant Joint from Long-Term Failure
Sealant is not designed to last forever. Industry commentary, including a Construction Specifier article on elastomeric sealants, notes that joints "should be able to last 20 or more years, but rarely do." Real-world exposure, UV degradation, and installation quality all cut into that theoretical lifespan. That's why CMHA and manufacturers like Pecora recommend inspecting perimeter sealant joints every one to two years rather than assuming a fixed replacement schedule.
That limited lifespan is why supplemental joint protection belongs in the jamb detail.
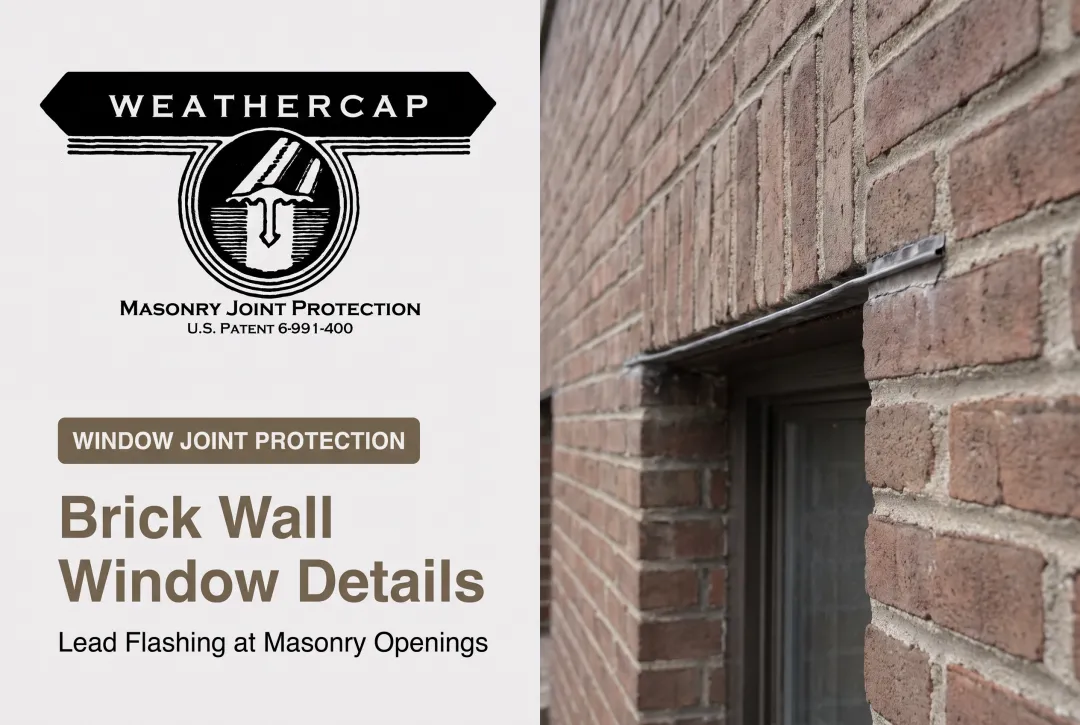
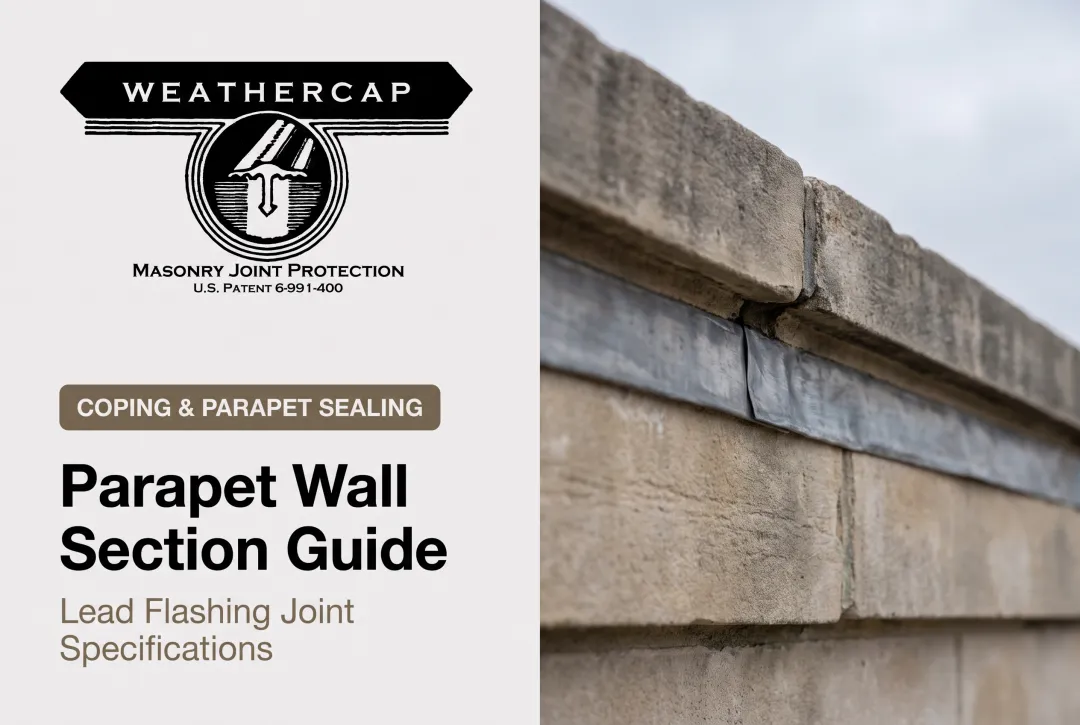
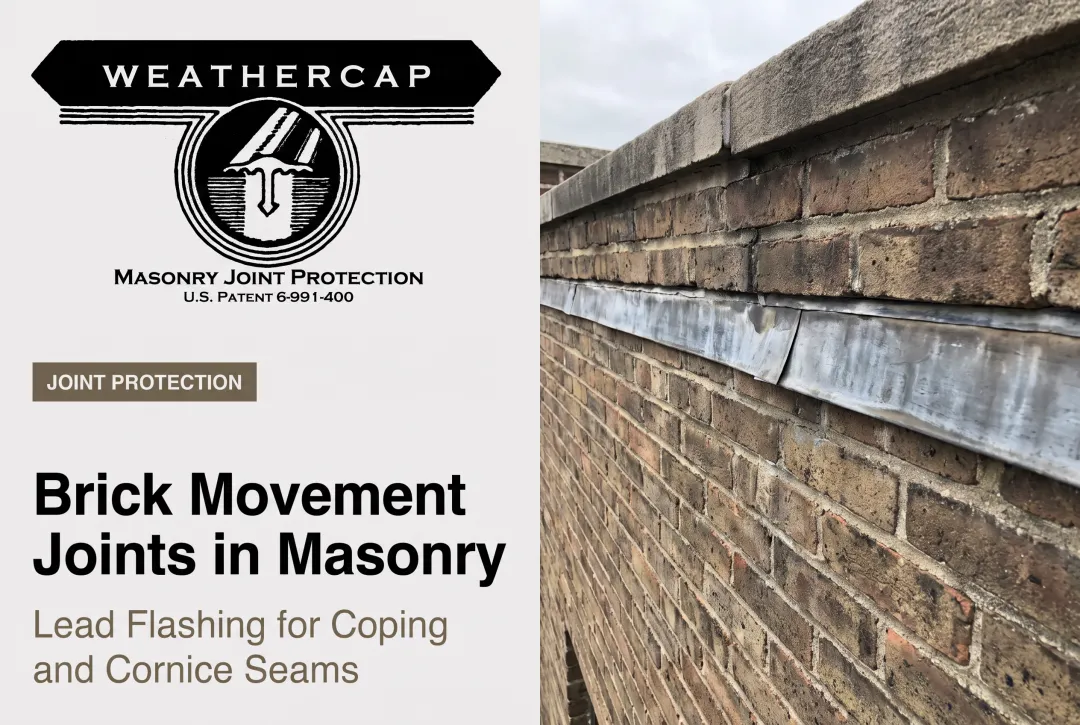
Weathercap's patented soft lead strip system (U.S. Patent 6991400) is designed to be interposed within the sealant joint at brick veneer window jambs, alongside the sealant itself, not as a replacement for it. Here's what it does mechanically:
- Reduces the visible joint opening that needs to be sealed by roughly half
- Absorbs building movement stress instead of transferring it directly into the caulk bead
- Doesn't conduct heat or cold, so it avoids creating a thermal bridge at the joint
- Resists corrosion, mold, and mildew, which matters in humid coastal or riverfront climates
Weathercap is specified in the GSA Historic Preservation Technical Procedures (Document 07656-01) and has been used on landmark masonry buildings including the Washington Monument, the U.S. Supreme Court, and the Smithsonian Institution. That track record has made it a go-to reference for both new construction jamb details and historic restoration work where sealant longevity is a recurring headache.
The system comes in two configurations to fit different jamb geometries:
| Type | Profile | Joint Size Range (I.D.) |
|---|---|---|
| Type A (Flat Cap) | Flat | Under 3/8 in. to under 1-1/2 in. |
| Type B (90° Cove Cap) | 90-degree cove | Under 5/16 in. to under 1-1/4 in. |

Both types are listed for joints around plain or ornamental window frames, so the choice usually comes down to the joint geometry at hand rather than a strict jamb-versus-other-location rule. All Weathercap products ship in 6-foot lengths within 48 hours of ordering, which is worth building into your project timeline if you're specifying it for a multi-window facade.
Best Practices for Specifying Brick Veneer Window Jamb Details
A jamb detail that looks clean on paper can still fail in the field if a few basics get skipped. Keep these in the spec:
- Set minimum cavity width based on backing type: 1 inch for wood stud; 2 inches recommended for cold-formed steel and masonry-backup cavity walls
- Require flashing laps: jamb flashing should lap sill flashing, with end dams at every discontinuity
- Dimension the sealant joint: keep depth no greater than width for joints between 1/4 and 1/2 inch, per CMHA TEK 19-06A
- Draw both plan and section views: this is where buck depth and brick reveal conflicts get caught before they hit the field
- Cross-check GSA/historic standards on landmark or older masonry buildings when preservation rules go beyond standard code
One coordination note still trips up experienced teams: window buck depth must match the reveal configuration. A full-brick reveal with a shallow buck leaves an awkward flashing return that is hard to seal. Catch that mismatch in plan and section—not on a punch-list walkthrough.
Frequently Asked Questions
What is a window jamb detail?
A window jamb detail is the technical drawing of the vertical junction between the window frame and the surrounding wall assembly. It shows the brick veneer, cavity, WRB (water-resistive barrier), flashing, and sealant placement at the side of the opening.
How wide should a brick veneer air cavity be at the window jamb?
Typical minimums run from 1 inch for wood-stud backing to 2 inches for cold-formed steel or masonry backup construction. Keep the cavity width consistent all the way around the opening.
What causes sealant joints to fail at brick veneer window jambs?
Building movement, thermal cycling, and UV degradation are the main culprits. These stresses accumulate over years and eventually tear or debond the sealant from the substrate.
Do brick veneer window jambs need flashing?
Yes. Flashing directs incidental moisture that penetrates the brick out through weep holes rather than letting it collect in the wall cavity. It's required wherever the cavity is interrupted, including at jambs.
How can I extend the life of a window jamb sealant joint?
Proper joint sizing, quality ASTM C920-compliant sealant, and regular inspection all help. Supplemental joint protection systems like Weathercap® can also reduce the exposed joint opening and absorb movement stress.