Here's the tension every mason, architect, and building owner faces: a joint has to look right — matching the bond pattern, the era, the client's design intent — while also performing right against decades of rain, freeze cycles, and building movement. Too often, one gets sacrificed for the other.
This guide walks through the joint profiles available, the tools used to cut them, how climate should drive your selection, and the movement-related failures that no amount of good tooling can prevent on its own.
Key Takeaways
- Concave and V-joints compact mortar most tightly and shed water best, making them the default for most exterior brickwork
- Raked and extruded joints look great but perform poorly in heavy rain, wind, or freeze-thaw climates
- Even properly tooled joints eventually crack from building movement, not poor workmanship
- Horizontal joints at copings and parapets need supplemental protection beyond standard caulk
- Repointing should be condition-driven, not scheduled by a fixed calendar
What Are Mortar Joints and Why They Matter
A mortar joint is simply the mortar-filled gap between bricks, blocks, or stones. It bonds units into a single structural mass and seals the wall against wind and water. That's it. Those two jobs carry enormous consequences if either one fails.
Masons shaped joints with nothing but a trowel for centuries. Purpose-built jointing tools (sled runners, slickers, rakers) didn't become widely available until the mid-1800s, according to trade history published by the Mason Contractors Association of America. Before that, whatever finish the trowel left behind was the finish you got. Joint styles have multiplied since then, but the job description has not.
Every joint still has to serve two functions simultaneously:
- Structural bonding — transferring load evenly between units so the wall behaves as one system, not a stack of loose parts
- Weatherproofing — shedding rain and resisting wind-driven moisture before it reaches the wall's interior
That second function is why joint selection is a durability decision. The prettiest joint in the world is a liability if it lets water sit against the mortar bed.
Types of Mortar Joints: Profiles, Appearance & Water Resistance
Joint profile is set by running a tool through the mortar while it's still workable, typically at "thumbprint hard" consistency. That single step determines how much water the joint will shed for the next 50 years.
Weather-Resistant (Compressed) Joints
These profiles compact the mortar tightly against the masonry units, closing hairline gaps that would otherwise wick moisture inward.
- Concave joint: A curved profile made with a rounded jointer. The Brick Industry Association ranks concave joints among the most water-resistant profiles available, which is why they're the default for CMU and most modern brick work.
- V-joint: A sharp, sunken V-shape cut with a steel tool. It sheds water at a steep angle while compacting the mortar bed—a solid pick when a design needs a crisper line than concave.
- Weathered joint: Recessed at the top, flush at the bottom. Gravity moves water off the wall face. It's less compacted than concave or V-joints, but BIA rates it the best-performing troweled profile available.

Decorative & Historic Joints
- Grapevine joint: A raised-bead tool leaves a recessed groove down the center of the joint. The Colonial-era detail makes it a natural choice for period restoration work.
- Beaded joint: Creates a raised, rounded bead. The exposed ledge collects water over time, so reserve it for interior work or protected stonework—not exterior brick.
- Tuckpointing: Mortar is colored to match the brick, then a thin contrasting line is added so the joint reads narrower than it is. A favorite in high-end restoration where visual precision outranks raw water resistance.
Flat, Struck & Raked Joints
- Flush joint: An uncompressed, trowel-cut finish, typically used when the wall will be painted or plastered over. Weakest water resistance of the group.
- Struck joint: Recessed at the bottom for a Colonial look, but the ledge collects standing water. Poor choice for exterior exposure.
- Raked joint: The only profile where mortar is removed rather than compressed, using an adjustable-depth nail tool. It needs extra compaction or supplemental sealing to hold up outdoors.
- Extruded joint: Untooled, "squeezed-out" mortar left in its natural rustic state. BIA discourages this finish outdoors because the unconsolidated mortar creates ledges that trap water.
Profile choice is a durability decision, not just an aesthetic one. Match the joint to exposure, then plan for how that joint will be maintained as the building moves and weathers over decades.
Tools Used to Create Mortar Joints
Four tool categories cover nearly every joint style:
- Concave and V-jointers — steel tools that compress mortar into curved or angular profiles; many have a different shape on each end for efficiency
- Slickers — produce a smooth, flat finish; holding the tool at a slight angle helps direct water runoff
- Joint rakers — wheeled tools with an adjustable nail that remove mortar to a consistent depth across long wall runs
- Grapevine jointers — a raised-bead profile tool for the decorative Colonial groove
The technique matters as much as the tool. Strike the mortar firmly first, then run the tool along the joint to compact it before it sets. Skip the compaction step, and even a concave joint won't perform the way it's supposed to.
A joint raker's nail has two ends, and only the head-side gets used during raking. That keeps depth consistent from one end of the wall to the other and produces a uniform reveal.
Choosing the Right Joint Profile for Climate and Building Type
Climate should drive joint selection more than aesthetics do, especially on exterior walls.
In regions with heavy rain, high wind, or repeated freeze-thaw cycles, compressed profiles are non-negotiable. BIA recommends concave or V-joints for these exposures and advises against raked joints wherever freezing is likely.
The National Park Service identifies water absorbed into masonry as the principal destructive force behind freeze-thaw deterioration. An uncompacted joint gives water more surface area to enter.
In drier, more stable climates, there's more room to prioritize appearance. Grapevine, weathered, or other decorative options can hold up fine without the same freeze-thaw stress.

Regional tradition supports the pattern. Surviving 18th- and 19th-century brickwork in places like Salem and Medford, Massachusetts shows fine, flat-bottomed joints: a tight, compressed style consistent with winters that punish open profiles. It's not a hard rule, but it's a pattern worth noticing.
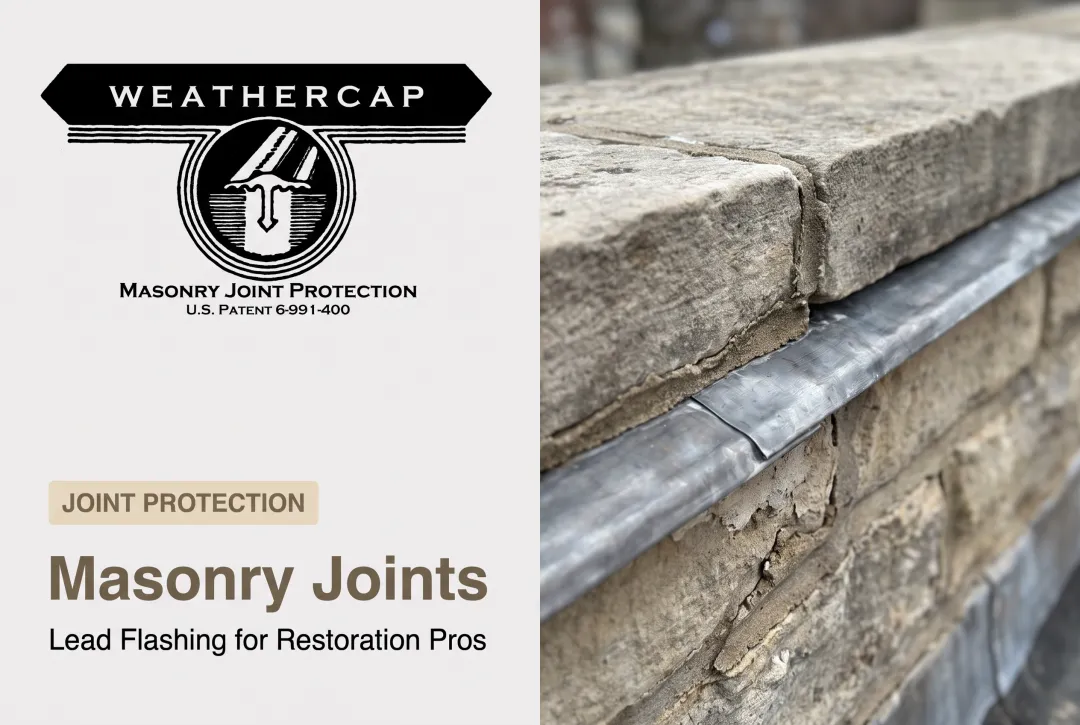
Historic restoration adds a wrinkle. Preservation guidelines often require matching the original joint profile specified for a building's era, even when that profile isn't the most water-resistant option available today. In those cases, the fix isn't changing the joint style. It's adding supplemental protection elsewhere in the assembly, such as a joint cap over the sealant.
When Mortar Joints Fail: Movement, Water Penetration & Expansion Joint Protection
Here's the part that catches a lot of people off guard: even a flawlessly tooled joint will eventually crack. Building movement, thermal expansion and contraction, and settlement open joints over time. Careful tooling cannot neutralize those forces.
Mortar Joints vs. Expansion Joints
Standard mortar joints bond units together with rigid material. Expansion joints are different by design. They're intentional gaps built to move, filled with flexible sealant systems instead of mortar. Conflating the two is a common and costly mistake.
A properly built expansion joint typically uses three components:
- Backer rod: controls sealant depth and gives the sealant something to bond against without sticking to the back of the joint
- Bond-breaker tape: used where the joint is too shallow for backer rod, preventing the sealant from adhering to a third surface
- Elastomeric sealant/caulk: the flexible material that actually blocks water and air while stretching with movement
Why Caulk Alone Isn't Enough
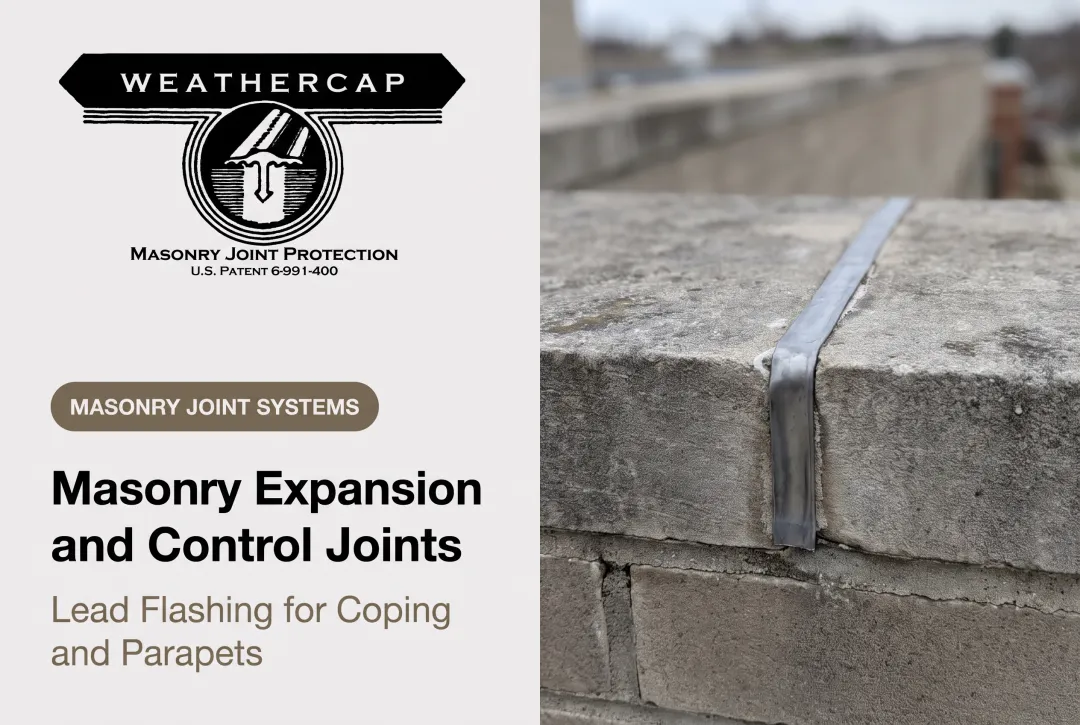
Sealant and backer rod work well on paper. In the field, they often fail early at exactly the locations that matter most: copings, parapets, and right-angle wall junctions. These spots concentrate stress from multiple directions at once, and water intrusion there does the most damage the fastest, soaking into the wall cavity below rather than running off the face.
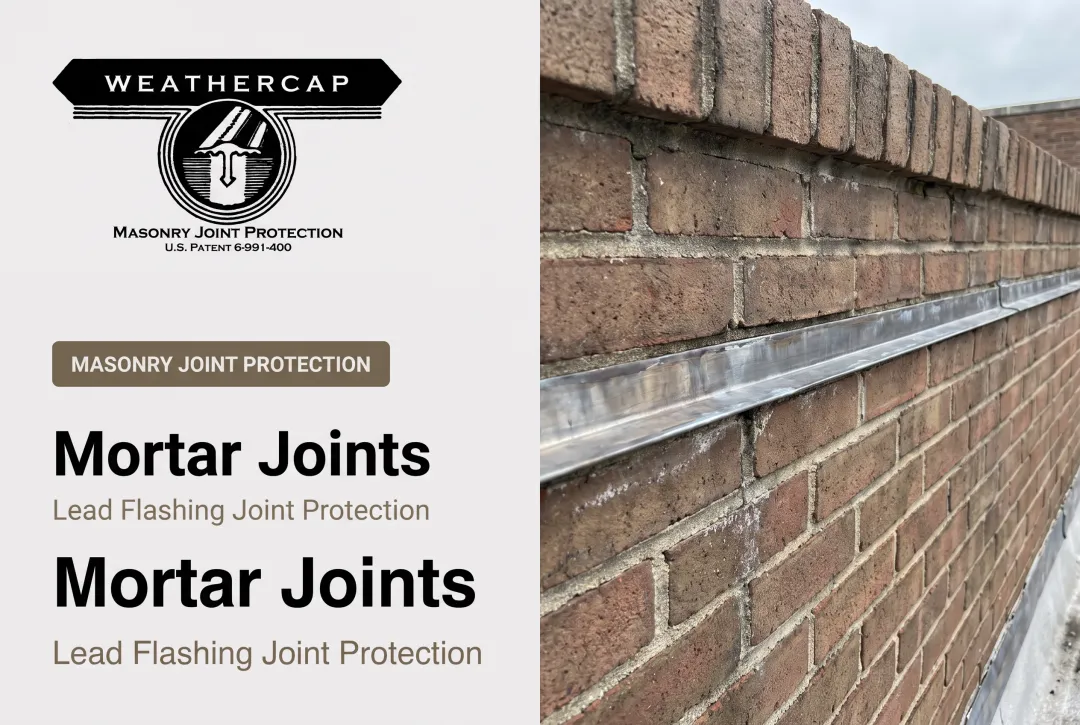
This is the specific problem Weathercap® was built to solve. The patented soft lead strip system is placed within the sealed joint itself, embedded fully in the caulk rather than sitting on top of it.
Because lead has naturally low creep strength and a low elastic modulus, the strip conforms to whatever new shape the joint takes after a building shifts, instead of resisting and cracking. Interposing the strip cuts the effective joint opening the sealant has to bridge by roughly half, which takes real stress off the caulk underneath.
The system has been specified in GSA Historic Preservation Technical Procedures (Document 07656-01) for exactly this reason, and it's been used on projects at the Washington Monument and the Smithsonian Institution, along with more than two dozen other federally recognized landmarks.
For contractors and architects, the practical upside goes beyond performance. The lead strip resists corrosion, mold, and mildew, and it can be painted to blend with surrounding masonry, so joint protection doesn't come at the cost of the building's appearance.

Repointing and Long-Term Mortar Joint Maintenance
Mortar is meant to wear out before the masonry units do. That's by design, not a flaw. Repointing (removing degraded mortar and replacing it) is standard maintenance, not a sign something went wrong.
Watch for these warning signs:
- Crumbling or powdery mortar you can scrape out by hand
- Visible gaps or hairline cracks running along joint lines
- Recurring interior moisture, staining, or leaks near exterior walls
There's no fixed repointing calendar. According to National Park Service guidance on historic repointing, a properly executed job should last at least 30 years, and ideally 50 to 100. That range depends heavily on mortar composition, climate exposure, and how well the original work was done.
Before closing out any repointing or restoration project, check whether critical horizontal joints (copings, parapets, cornices) need more than fresh mortar. A supplemental protection system at those points can prevent the same failure from returning within another decade.
Frequently Asked Questions
What is the most commonly used joint finish in modern brickwork?
The concave joint is the industry default. It compacts mortar tightly and sheds water effectively, so it's specified on most brick and CMU work today.
What three materials make up a typical expansion joint system?
Backer rod, bond-breaker tape, and a flexible elastomeric sealant. Each plays a distinct role in letting the joint move without losing its watertight seal.
How often should mortar joints be repointed?
There's no universal schedule — it depends on mortar type, climate exposure, and original workmanship. Inspect joints regularly and repoint based on visible condition, not a fixed timeline.
What causes mortar joints to fail over time?
Water penetration, freeze-thaw cycling, and ongoing building movement or settlement are the three primary culprits. Even well-tooled joints eventually fail from one or more of these.
What's the difference between a mortar joint and an expansion joint?
Mortar joints bond masonry units together using rigid mortar. Expansion joints are intentional gaps filled with flexible sealant systems specifically designed to absorb building movement.
How can horizontal masonry joints be protected from long-term water damage?
Standard caulk and sealant often fail early at copings and parapets due to concentrated stress. Supplementing with a stress-absorbing system like Weathercap's patented lead strip helps prevent that premature failure.