Get the sizing, placement, or sealing wrong, and the results show up fast: stair-step cracking, water infiltration, spalling brick, and repair bills that dwarf the cost of doing it right the first time. This guide breaks down what expansion joints actually are, why brick walls need them, how they should be sized and placed, and how to seal them so they actually last.
Key Takeaways
- Clay brick expands permanently after install; concrete masonry shrinks—each needs a different movement joint.
- Space brick veneer expansion joints no more than 25 feet apart, tighter near corners and openings.
- Sealant alone usually falls short of its rated life without a protective covering.
- Weathercap's lead strip system protects federal landmarks including the Washington Monument and Smithsonian.
What Are Expansion Joints in Masonry?
An expansion joint is an intentional gap engineered into a masonry wall to absorb movement before that movement turns into a crack. Think of it as a designed release valve. Without one, a brick wall has nowhere to send the stress building up inside it.
That stress is real, and it's physical. Clay brick absorbs moisture from the air after it leaves the kiln and expands as a result, a process the Brick Industry Association describes as largely irreversible. Most of this expansion happens in the first few weeks after manufacturing, though it continues at a slower rate for years afterward.
Concrete masonry units behave the opposite way. They shrink as they cure and dry out, which is why CMU walls need a different movement strategy entirely.
The Numbers Behind the Movement
BIA Technical Note 18 quantifies this movement with two coefficients:
- Thermal expansion: 4 x 10⁻⁶ in./in./°F for brick veneer
- Moisture expansion: 5 x 10⁻⁴ in./in. recommended for veneer applications
Combined across a 100°F temperature swing, BIA's design equation works out to roughly 0.0108 inches of movement per linear foot of wall. That figure is not an annual rate. It is the total unrestrained movement a wall segment can experience over its service life. Multiply that across a 50-foot wall run and you're looking at over half an inch of movement that has to go somewhere.
Expansion Joints vs. Control Joints
These two terms get confused constantly, and mixing them up leads to the wrong detail on the wrong wall.
- Expansion joints are used in clay brick and masonry veneer to give room for the brick's ongoing expansion.
- Control joints are used in CMU/block walls to create a predetermined weak point where shrinkage cracking can occur in a controlled location.
BIA is explicit that these joint types aren't interchangeable. A control joint detail on a brick veneer wall won't accommodate the expansion the brick actually needs, and vice versa for CMU.

Do Brick Walls Need Expansion Joints? (Yes — Here's Why)
Short answer: yes, and not as an optional upgrade. Nearly every brick veneer wall beyond a certain length or height needs expansion joints to meet modern masonry code guidance.
TMS 402-22, the governing masonry code, requires project drawings to show how dimensional changes from creep, shrinkage, temperature, and moisture will be handled. The code doesn't hand you exact spacing numbers, but BIA Technical Note 18A fills that gap with industry-standard guidance:
- Maximum 25 feet on center for brickwork without openings
- No more than 20 feet on center where multiple openings interrupt the wall
- Joints within 2 feet of corners on either side, and at least one joint within 10 feet of each corner
What Happens If You Skip Them
Leave those joints out, and the wall has to release its stress somewhere else — usually through the brick itself. Common failure patterns include:
- Diagonal stair-step cracking between window and door openings
- Corner cracking where no joint exists or joints are spaced too far apart
- Spalling brick near shelf angles as movement gets restrained
- Water infiltration through cracks that compromises the wall assembly over time
Certain zones take the brunt of this stress: parapets, copings, right-angle wall junctions, and areas surrounding openings. Parapets are especially vulnerable because they're exposed on three sides with almost no dead-load restraint to hold them steady.
Those same stress points hit older buildings harder. Many were built before expansion joints were standard practice, so movement has nowhere designed to go. Retrofit joint protection—such as Weathercap's soft lead strip systems—gives historic masonry a controlled place to move without cracking the wall or the sealant.
Expansion Joint Sizing and Placement Guidelines
Getting the width right matters as much as getting the spacing right. The Brick Industry Association (BIA) recommends vertical expansion joints between 3/8 inch and 1/2 inch wide, generally matching a standard mortar joint width.
Modern sealants provide 25% to 50% compressibility to absorb that movement.
The actual spacing calculation BIA uses is:
Se = (wj × ej) / 0.09
Where Se is joint spacing, wj is joint width, and ej is the compressibility percentage of the least-compressible material in the joint. For a 1/2-inch joint with 50% compressibility, theoretical spacing lands around 23 feet. Adjust that figure down for corners, openings, and other complicating factors.
Where Joints Need to Go
Beyond straight wall runs, BIA identifies specific trigger points that call for a joint:
- Building corners and offsets
- Wall intersections and setbacks
- Changes in wall height
- Changes in backing system or structural support
- Locations directly below shelf angles (not above them)
- Parapets, where spacing should tighten to a maximum of 15 feet
Horizontal joints below shelf angles typically need about a 1/4-inch unobstructed space, backed with rod and sealant at the face.
Climate matters too. A dark, south-facing brick wall can hit 140°F even when ambient air stays under 100°F, which drives significantly more movement than a shaded north wall on the same building.
Colder climates with wider seasonal swings generally need tighter spacing or wider joints. There's no universal climate table for this, so get site-specific input from a structural engineer or architect before finalizing joint layout.

Should You Caulk Brick Wall Expansion Joints? Best Practices for Long-Term Sealing
Yes, caulking is necessary. An open expansion joint without sealant is an open invitation for water and air infiltration. But here's the part that doesn't get said enough: caulk alone is not a permanent fix.
Industry sources note that elastomeric sealant joints should last 20 or more years, but in practice, they rarely do. UV exposure, weathering, and the very building movement the joint is designed to absorb all work against the sealant over time.
Getting the Installation Right
Proper technique buys sealant more time before it fails:
- Use backer rod sized about 25% larger than the joint width to control sealant depth and give it something to tool against
- Maintain roughly a 2:1 width-to-depth ratio, with a 1/4-inch minimum sealant depth
- Prepare the substrate surface thoroughly before applying sealant — adhesion failure is one of the most common causes of premature joint failure
Why Sealant-Only Joints Fail
Even well-installed sealant joints break down in predictable ways:
- Shrinkage cracking
- Tearing under repeated movement stress
- Adhesion loss at the joint edges
Once any of these occur, moisture finds its way behind the sealant and into the wall assembly, often invisibly at first.
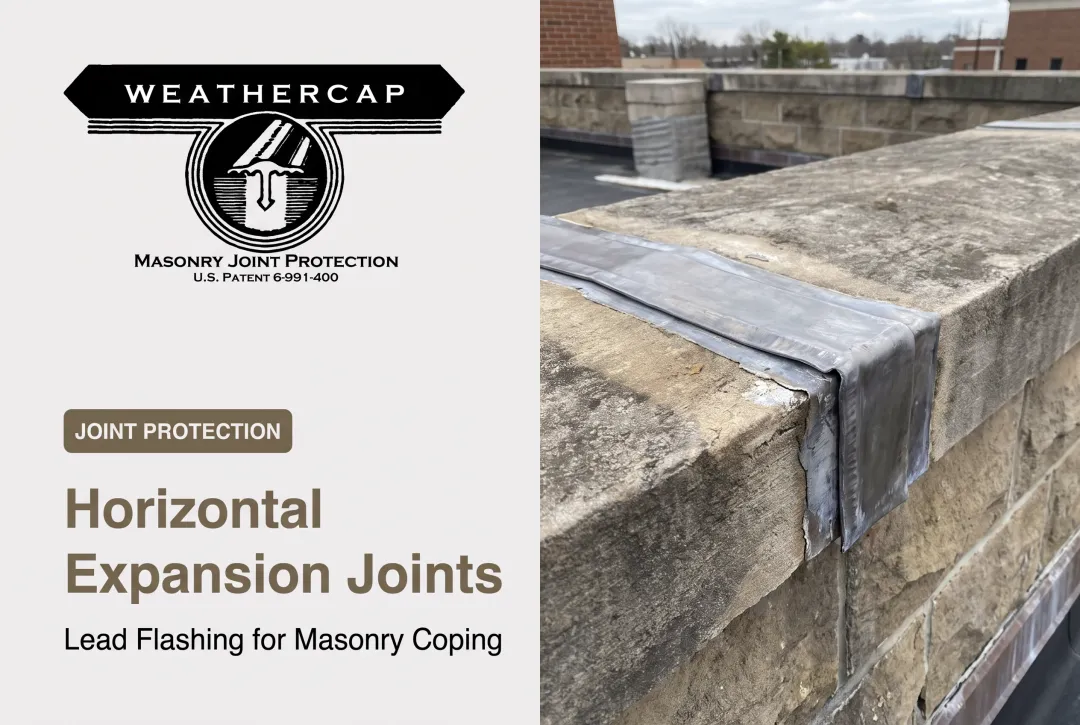
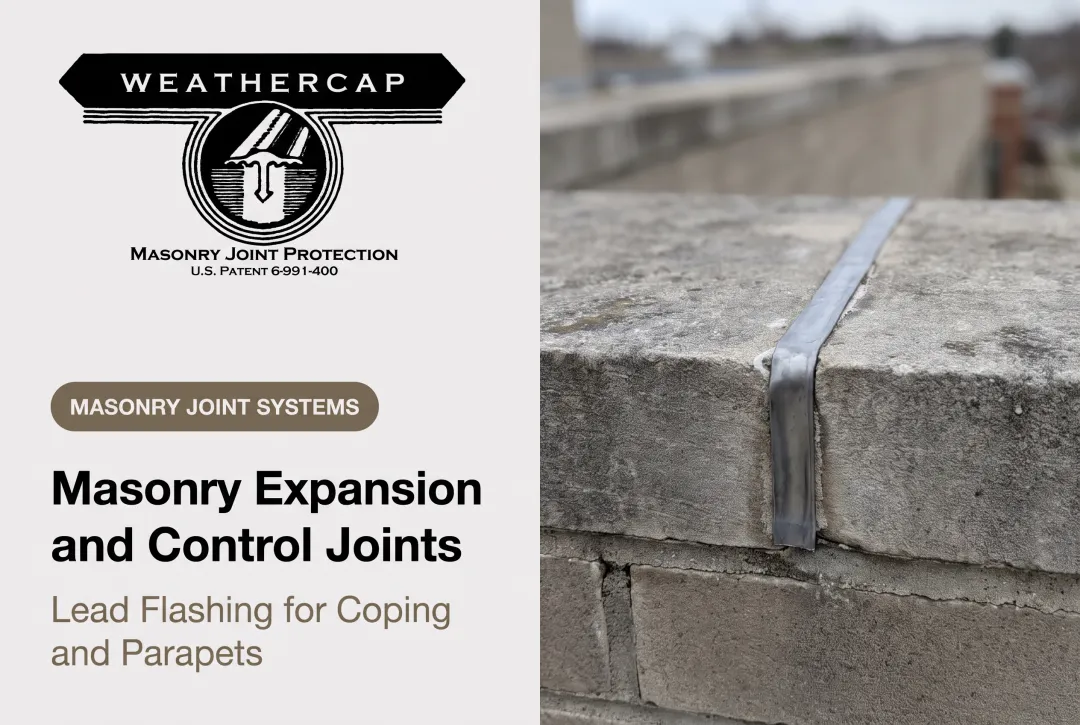
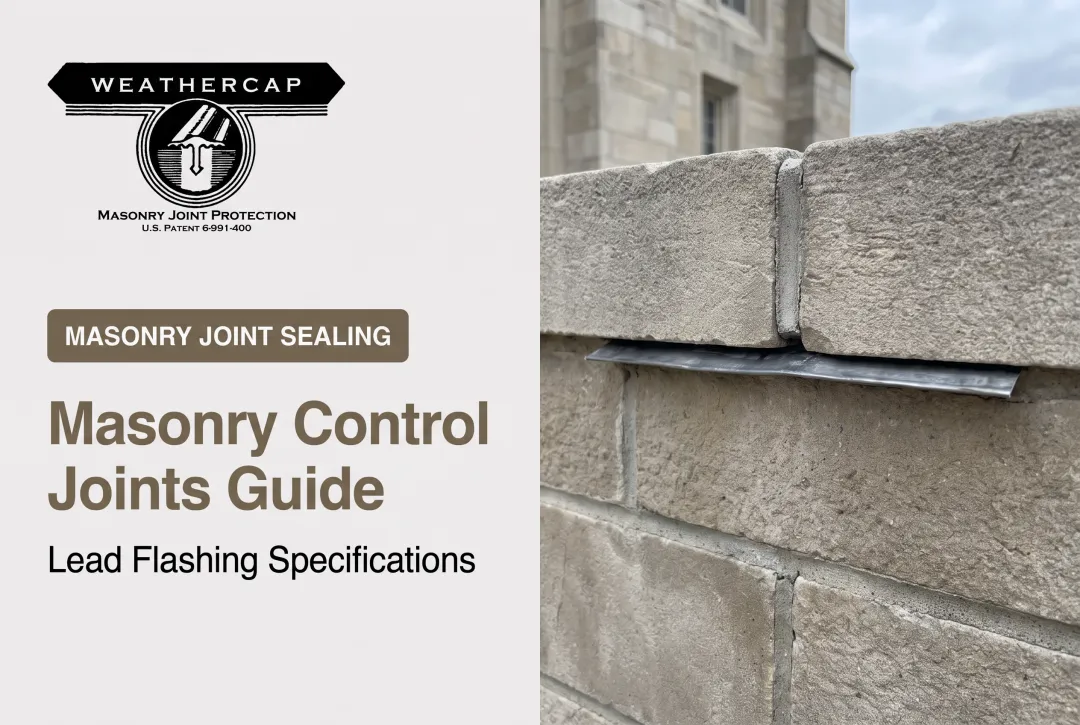
Weathercap's patented soft lead strip system addresses this gap. Rather than relying on sealant alone, the lead strip sits within the joint and physically caps the sealant below it, shielding it from UV exposure and reducing the effective span the sealant has to bridge.
Because lead has a low elastic modulus and low creep strength, it slowly deforms into the wall's new configuration after each movement cycle instead of springing back and pulling the seal apart.
Weathercap is specified in the GSA Historic Preservation Technical Procedures (Document 07656-01), a federal preservation standard. The system has been used on the Washington Monument and the Smithsonian Institution, projects where seal failure carries national preservation consequences.
Types of Expansion Joint Materials and Systems
Not every joint needs the same solution. The right system depends on joint width, movement demand, and how much long-term performance the project requires.
Standard sealant-only joints are the most common approach: elastomeric caulk over compressible backer rod. They're straightforward to install and inexpensive upfront, but they're also the shortest-lived option, especially on high-movement or sun-exposed walls.
Compressible foam filler systems extend through the full wythe on wider joints, keeping out mortar and debris while improving water resistance behind the exterior seal. The Brick Industry Association (BIA) specifically notes that fiberboard and similar low-compressibility materials aren't suitable fillers — they can't move enough to matter.
Metal capping systems add a protective layer over the sealant rather than replacing it. Weathercap manufactures two configurations for this purpose:
| Type | Configuration | Joint Width Range | Best Use |
|---|---|---|---|
| Type A (Flat Cap) | Flat profile | Under 3/8 in. to under 1-1/2 in. | Standard flat-surface joints |
| Type B (90° Cove Cap) | Right-angle cove | Under 5/16 in. to under 1-1/4 in. | Right-angle transitions (sills, lintels, cornices) |
Type B is specified anywhere a joint occurs at roughly a right angle, such as around window sills, entrance steps, or where a projecting lintel meets a wall. Type A handles standard in-plane joints like coping and horizontal wall runs.
Both are made from 99.9% chemical-grade lead and shipped in 6-foot lengths. They oxidize naturally to a neutral grey that blends into surrounding masonry without additional finishing.

Maintenance and Inspection Tips for Expansion Joints
Expansion joints aren't a set-it-and-forget-it detail. Sealant degrades gradually, often without any obvious sign until water has already found its way in.
A routine visual inspection, done at least once a year, should check for:
- Cracking, bowing, or spalling near joint locations
- Sealant that's separated, torn, or pushed out of the joint
- Gaps between sealant and the surrounding masonry
- Visible water staining near joint lines
The earlier these signs get caught, the cheaper the fix. Waiting until a joint fails completely usually means dealing with hidden moisture damage behind the wall surface, not just resealing a visible gap.
For historic or federally significant structures, the stakes are higher still. Water infiltration through a failed joint can compromise irreplaceable masonry, so proactive protection matters most on these buildings.
Adding a protective lead cap over existing sealant before it fully deteriorates extends the life of the seal underneath and reduces how often the joint needs attention going forward.
Frequently Asked Questions
What is a brick wall expansion joint?
A brick wall expansion joint is an intentional gap built into masonry to absorb thermal and moisture-driven movement. Without it, that movement has nowhere to go except into cracks in the wall itself.
Do brick walls need expansion joints?
Yes, for nearly all brick veneer and masonry walls beyond a certain length or height. Modern codes and industry guidance call for joints at corners, along long wall runs, and at changes in wall height.
How wide should a brick wall expansion joint be?
Industry guidance typically calls for joints 3/8 inch to 1/2 inch wide. Exact size depends on wall length, climate, and code—confirm with a structural engineer or architect.
Should you caulk brick wall expansion joints?
Yes, caulking is necessary to seal the joint against water and air infiltration. However, sealant alone has a limited service life, so pairing it with a protective system like Weathercap extends long-term durability.
What causes expansion joints to fail prematurely?
UV degradation, improper installation, and lack of protective covering over the sealant are the leading causes. Without a cap or shield, sealant takes the full force of weathering and building movement alone.
How often should expansion joints be inspected or replaced?
Annual visual inspections are recommended to catch cracking, sealant separation, or gaps early. Aging sealant should be reinforced or replaced proactively, especially on historic structures, before it fails completely.