A typical building facade contains hundreds of linear feet of these joints. Multiply that across a commercial structure, and joint type, condition, and protection become critical knowledge, not an afterthought, for architects, contractors, and building owners alike.
This article breaks down the different joint profiles, explains why even well-tooled joints eventually fail, walks through expansion joint guidelines, and looks at how supplemental protection systems, including the lead strip technology used on landmarks like the Washington Monument, extend joint life well beyond standard sealant.
Key Takeaways
- Mortar joints bond masonry units and serve as the wall's primary defense against water intrusion
- Tooled profiles like concave and V-joints shed water far better than flush or struck finishes
- Unaddressed building movement accelerates joint failure; supplemental protection extends sealant life
- Prompt repointing or resealing at the first sign of cracking prevents small issues from becoming structural repairs
What Are Mortar Joints and Why Do They Matter?
Mortar joints are the mortar-filled spaces between bricks, stone, or block units. They do two jobs at once: bonding individual units into a structural whole, and forming a continuous, weather-resistant plane across the entire wall face.
Filling and finishing these joints is called pointing. When old mortar is cut out and replaced, the work is repointing. "Tuckpointing" gets used loosely for either in casual conversation, but historically it means a distinct decorative technique: a raised lime-putty line applied over a flush joint to mimic finer, more regular brickwork.
Joints Aren't a Minor Detail
Mortar joints account for 18% to 20% of a brick wall's total visible surface area, according to Masonry Magazine. That's nearly a fifth of the facade.
At that scale, joint profile and condition aren't cosmetic footnotes. They're a design decision with real structural consequences:
- Joint color and texture influence overall wall appearance almost as much as the brick itself
- Poor tooling on nearly 20% of a wall's surface creates a proportional amount of vulnerable, water-prone area
- Workmanship quality at the joint level compounds across hundreds of linear feet on a typical building
Treat joints like the load-bearing, weather-facing components they are, not filler between the "real" material.
Types of Mortar Joints: Troweled vs. Tooled Profiles
Joint finishes differ mainly in how much the mortar is compacted. Troweled joints are finished simply by scraping away excess mortar with a trowel or flat iron. The surface stays loose and porous because nothing has compressed it against the brick.
Tooled joints, on the other hand, are pressed with a jointing tool after the mortar has partially set. That compaction step closes gaps between the mortar and the masonry unit, producing a denser finish that resists water far more effectively.
Troweled Joint Profiles
Three common troweled profiles show up on older and interior work:
- Flush – Mortar finished level with the brick face. Common under plaster or paint, but poorly water-resistant when left exposed.
- Weathered – Recessed top to bottom, sloping outward. Acceptable outdoors only when properly compressed during finishing.
- Struck – Opposite slope of weathered, recessed at the bottom. Creates a water-collecting ledge; not recommended for exterior walls.
Tooled Joint Profiles
Tooled profiles generally outperform their troweled counterparts, though not uniformly:
- Concave – The most common profile and one of the two most watertight options. Its curved shape sheds water and compacts tightly against the brick.
- V-joint – Compacted into a sharp V. Decorative and, per the Brick Industry Association, as water-resistant as concave.
- Raked – Mortar removed 1/4 to 1/2 inch deep rather than compressed. Least watertight in BIA rankings because the ledge holds standing water.
- Beaded – Ornamental raised bead down the joint center. Attractive, but the exposed ledge traps moisture and isn't recommended outdoors.
- Grapevine – Rounded tool cuts a recessed groove; common on colonial-era brickwork.
- Extruded – Squeezed-out mortar left untouched and untooled. Never compacted, so unsuitable for weather-exposed walls.

Quick-reference rule: for weather-exposed exterior walls, concave and V-joints remain the most reliable long-term choices. Everything else involves a trade-off between appearance and water resistance.
Why Even Well-Made Mortar Joints Fail Over Time
A properly tooled concave joint installed by a skilled mason still won't last forever. Three forces work against every mortar joint, day after day, regardless of how well it was installed.
Water penetration is the primary long-term threat. According to the Brick Industry Association, water typically doesn't pass through sound brick or solid mortar under normal exposure.
Instead, it follows minute separations between brick and mortar—formed during construction or as hairline cracks develop later. Even a gap too small to see can draw water inward under pressure differentials.
Freeze-thaw cycling compounds the problem in colder climates. Once water enters a joint, repeated freeze-thaw cycles expand and contract that moisture. The pressure can spall the mortar surface, pop off thin layers, and accelerate cracking each season.
Building movement is the third factor, and it's continuous rather than seasonal:
- Thermal expansion and contraction shift masonry units daily
- Structural settlement puts ongoing stress on joints, especially near foundations
- Vibration from traffic, HVAC equipment, or nearby construction adds cumulative wear
Mortar and standard sealant were never designed to flex indefinitely. Buildings need joints engineered to absorb that movement—a different requirement than mortar quality alone, and one that shapes how lasting repairs get specified.
Mortar Joints vs. Expansion Joints: What's the Difference?
Mortar joints bond and seal masonry units together. Expansion joints, sometimes called movement joints, serve a different purpose.
They are intentional gaps filled with flexible sealant and backer rod, built to absorb thermal and structural movement without transferring stress into the surrounding brickwork.
Placement isn't arbitrary. The Brick Industry Association's Technical Note 18A lays out clear spacing guidance, though the exact numbers shift depending on the wall condition:
| Facade Condition | Recommended Maximum Spacing |
|---|---|
| Wall without openings | 25 ft on center |
| Wall with multiple openings | 20 ft on center |
| Near exterior corners | Within 2 ft of the corner |
| Below shelf angles/floor lines | Horizontal joint at each supported level |
| Parapets | Top spacing no more than 15 ft |
That 25-foot figure gets quoted as a universal rule, but it only applies to relatively uninterrupted brick walls. Openings, corners, shelf angles, and parapets all tighten the required spacing.
Both mortar joints and expansion joints ultimately depend on sealant, and sealant breaks down under repeated movement no matter how well it was installed. That shared vulnerability is why supplemental joint protection matters on buildings with ongoing movement.

Choosing the Right Sealant and Protection for Mortar Joints
Sealant selection isn't as simple as picking a chemistry off a shelf. The Brick Industry Association specifically recommends silicone for brick expansion joints, provided it meets ASTM C920 Grade NS, Use M requirements for movement capacity, weathering resistance, and adhesion.
Polyurethane and hybrid polymer sealants also show up frequently in masonry work. The right choice still depends on substrate compatibility and field adhesion testing—not chemistry name alone.
Why Sealant Alone Often Isn't Enough
Even a correctly specified sealant faces a hard problem: it has to stretch and compress every time the building moves, indefinitely, with no help.
When movement exceeds what the sealant can absorb—or happens more often than expected—cracks and adhesion failures follow. That path leads to recurring leaks and repeat maintenance calls.
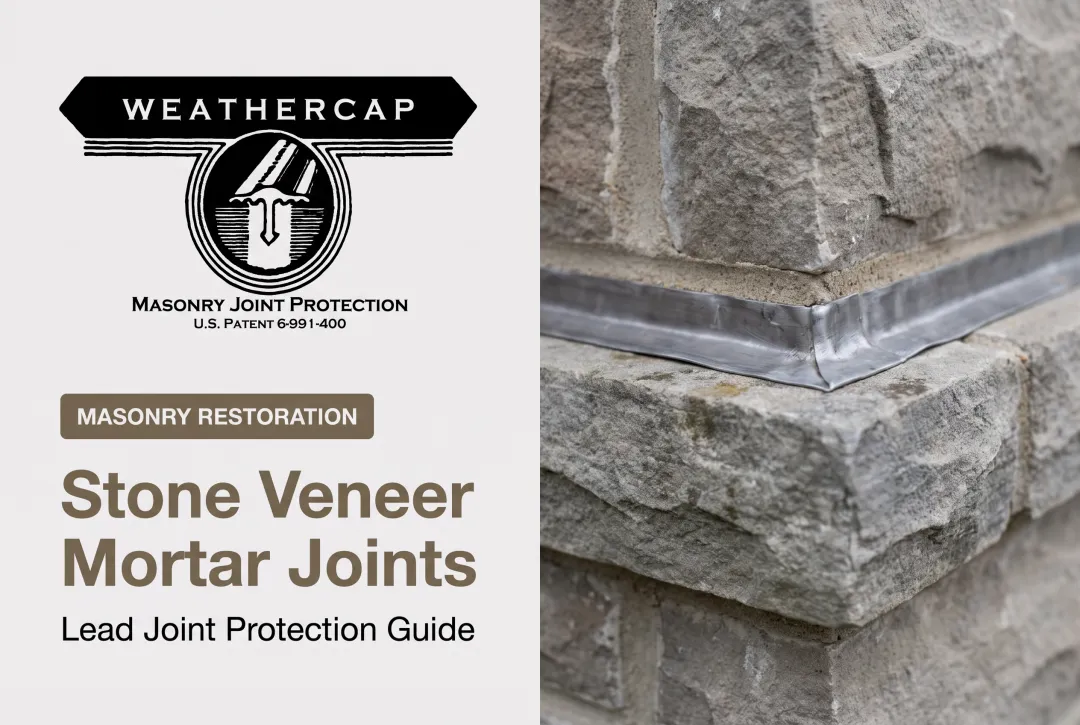
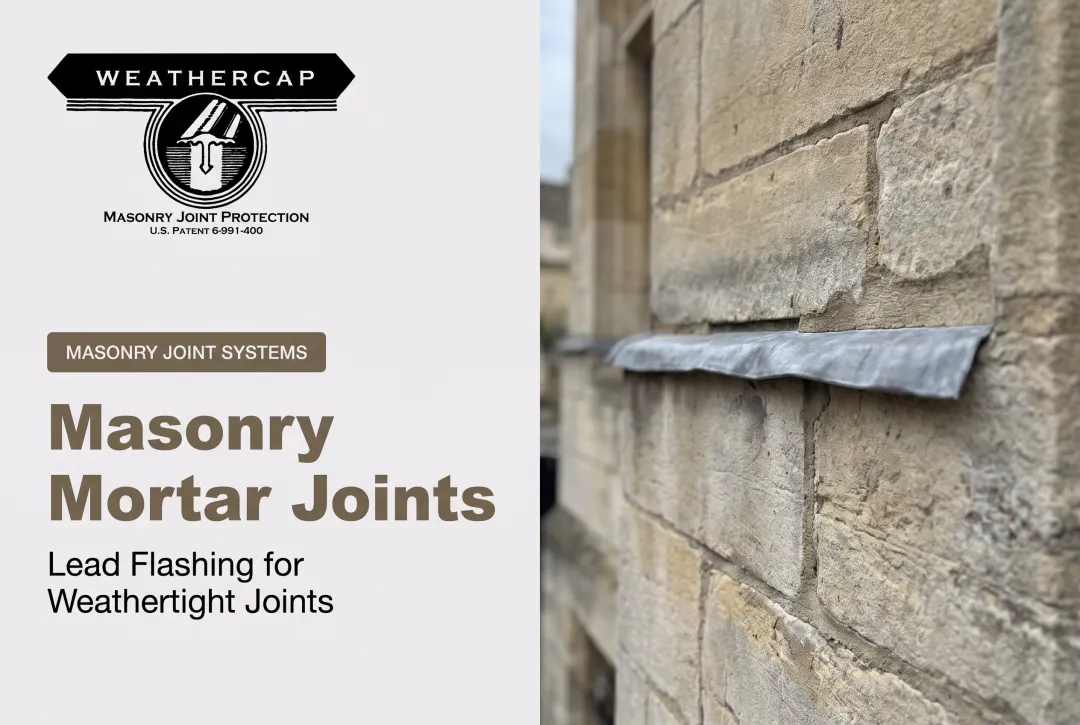
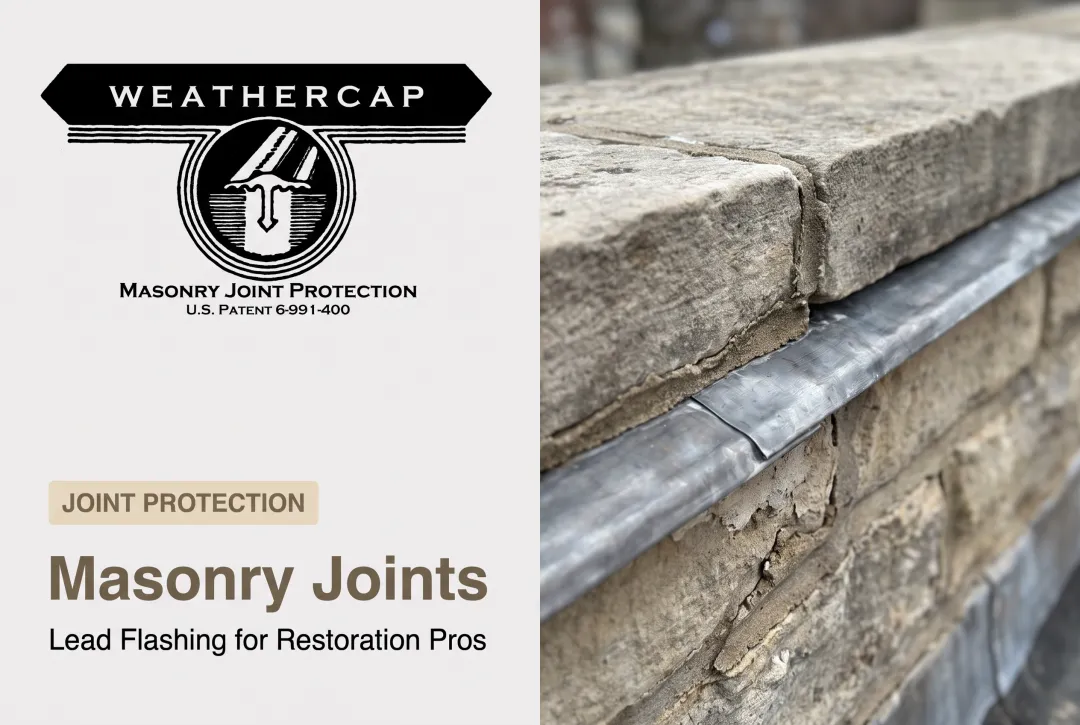
Weathercap's patented soft lead strip system addresses that stress directly. Interposed within a sealed masonry joint, it physically bisects the sealant span. Instead of one wide, vulnerable opening, the sealant only has to bridge the smaller gap on either side of the embedded lead strip, cutting the effective joint opening roughly in half.
Lead's low creep strength and low elastic modulus let it flow and permanently conform to a joint's new shape after building movement, rather than springing back like other metals would. That permanent conformance is what keeps moisture out over the long haul.
Proven on Some of the Most Demanding Structures in the Country
Weathercap has been applied to more than 28 nationally significant landmarks, including:
- The Washington Monument
- The U.S. Supreme Court Building
- The Smithsonian Institution
- The U.S. Treasury Building
- Arlington National Cemetery
- Grand Central Station
- The Metropolitan Museum of Art
The system is also specified by name in the GSA Historic Preservation Technical Procedures (Document 07656-01), which governs lead flashing used to protect masonry joints on federal historic structures. For architects and stewards of landmark buildings, that specification is a practical green light: the method has already been reviewed for projects where joint failure is unacceptable.
A Practical Maintenance Rhythm
Neglect is what turns a minor joint issue into a major repair bill. A reasonable approach:
- Inspect joints at least once a year, and again after any severe storm or freeze event
- Look for early warning signs — hairline cracks, gaps between sealant and masonry, discoloration, or damp interior walls
- Repoint or reseal promptly once deterioration appears, rather than waiting for visible leaks
- Consider supplemental protection on joints exposed to significant movement or high-value historic masonry

Once inspection turns up a joint that needs protection, availability matters. Weathercap ships in standard 6-foot lengths within 48 hours of order placement, so restoration schedules can move as soon as the condition is confirmed.
Frequently Asked Questions
What is the best sealant for masonry joints?
The Brick Industry Association recommends silicone meeting ASTM C920 Grade NS, Use M for brick expansion joints. Pairing the sealant with a lead strip protection system improves long-term performance against building movement.
What is the rule of thumb for expansion joints?
Vertical expansion joints are typically spaced no more than 25 feet apart on walls without openings, tightening to 20 feet where multiple openings exist. Corners, shelf angles, and parapets require additional joints regardless of overall spacing.
What is it called when you put mortar between bricks?
Finishing joints with mortar is called pointing; replacing deteriorated mortar is repointing. Tuckpointing refers to a decorative raised joint, not general repair work.
How often should mortar joints be inspected or repointed?
Inspect joints visually at least once a year and after severe weather. A well-executed repointing job can last 30 years or more, depending on climate, exposure, and moisture conditions.
What causes mortar joints to crack or fail?
The leading causes are water penetration through hairline separations, freeze-thaw cycling that spalls the mortar surface, and ongoing building movement or settlement. Poor original tooling accelerates all three.
Can mortar joints be repaired without replacing the entire wall?
Yes. Individual joints can be repointed by removing deteriorated mortar to a consistent depth and packing in new, compatible mortar in thin layers—without replacing the surrounding wall.