That assumption causes problems. Improperly filled gaps let water infiltrate the wall system, triggering efflorescence and, over time, structural deterioration. Water penetrating joint cracks deteriorates mortar, according to National Park Service preservation guidance.
This guide walks through the full process: cleaning and prepping joints, choosing the right fill material, tooling for durability, common mistakes to avoid, and when a standard mortar or sealant approach just isn't enough.
TL;DR
- Clean the joint, pick the right mortar or sealant, and pack/tool it correctly for lasting durability
- Joint width, stone type, and building movement determine your filling method
- Skipping backer rod or using incompatible mortar are the top causes of premature failure
- High-movement or historic joints often need supplemental protection, like WEATHERCAP® lead strips, to extend sealant life
How to Fill Gaps Between Masonry Stones
Step 1: Clean and Prepare the Joint
Before any filling happens, the joint needs a clean slate.
- Remove loose debris, old mortar, dust, and moisture with a wire brush or compressed air
- Check that joint depth and width meet the minimum requirement for your chosen fill material
- Confirm stone edges are free of efflorescence or oils that block adhesion
For mortar joints, the National Park Service recommends removing old material to 2 to 2.5 times the joint width, a much deeper cut than a surface skim. Wide stone joints may need several inches removed before fresh mortar goes in.

Step 2: Install Backer Rod (for Wider Gaps)
Backer rod controls sealant depth and prevents three-sided adhesion. A three-sided bond restricts joint movement and leads to tearing.
- Choose a rod diameter roughly 25% larger than the joint width for a proper compression fit
- Always double-check the specific rod manufacturer's data sheet, since sizing varies by product type
- Never puncture or overstretch a closed-cell rod during installation
Skipping this step is one of the fastest ways to end up with a cracked, failed joint within a year or two.

Step 3: Mix and Apply Mortar or Sealant
Material choice depends entirely on the joint's job. Lime-based mortar suits traditional stone masonry that needs to breathe and match historic material. Polyurethane or silicone sealant suits joints with ongoing movement, where a rigid fill would crack.
When you apply the fill:
- Pack mortar or sealant firmly with a pointing trowel or caulking gun
- Work out air pockets so they cannot become water traps
- Follow the manufacturer's humidity and temperature limits before you start
- On movement-prone commercial or historic joints, set a soft lead joint cap (such as Weathercap) over the sealant so the fill stays protected as the building shifts
Step 4: Tool, Finish, and Cure
Tool the joint to match the surrounding profile (flush, raked, or weathered) for appearance and proper water shedding.
- Allow full cure time before exposing the joint to moisture or load
- Cover freshly filled joints if rain or temperature extremes are forecast during curing
A joint opened to weather before it cures is one of the most common reasons a sound prep job still fails within the first season.
When Should You Fill Gaps This Way?
Hand-filling with mortar or sealant works well for structures with minor, predictable seasonal movement.
Best suited for:
- Retaining walls
- Garden walls
- Veneer stone
- Standard residential masonry joints
The same approach is unreliable on historic buildings, parapets, and copings. Those features see significant differential movement, and standard caulk joints fail repeatedly under that stress.
Rigid or single-layer sealant cannot keep absorbing that load indefinitely, no matter how carefully it was installed.
What You Need Before Filling Gaps
The right combination of tools and materials determines whether a joint lasts years or months.
Materials and Tools
- Wire brush to clear loose debris and old mortar
- Pointing trowel for packing and shaping joints
- Caulking gun for sealant application
- Backer rod to control sealant depth
- Mortar mix or elastomeric sealant matched to the joint
- Tooling instrument to finish the joint face
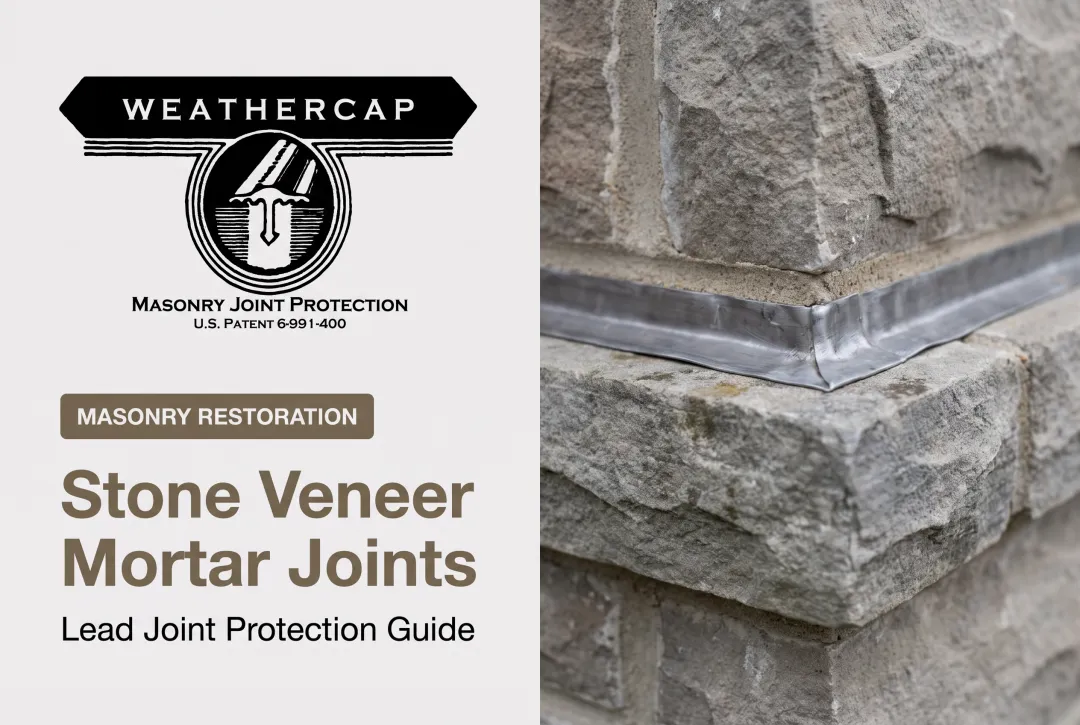
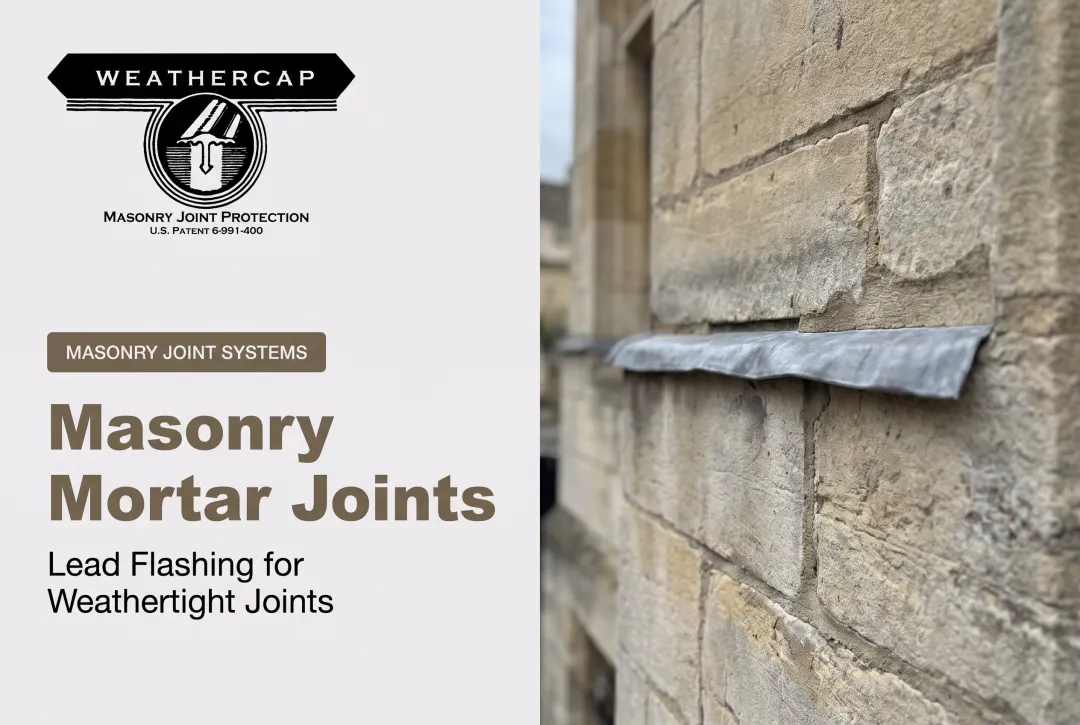
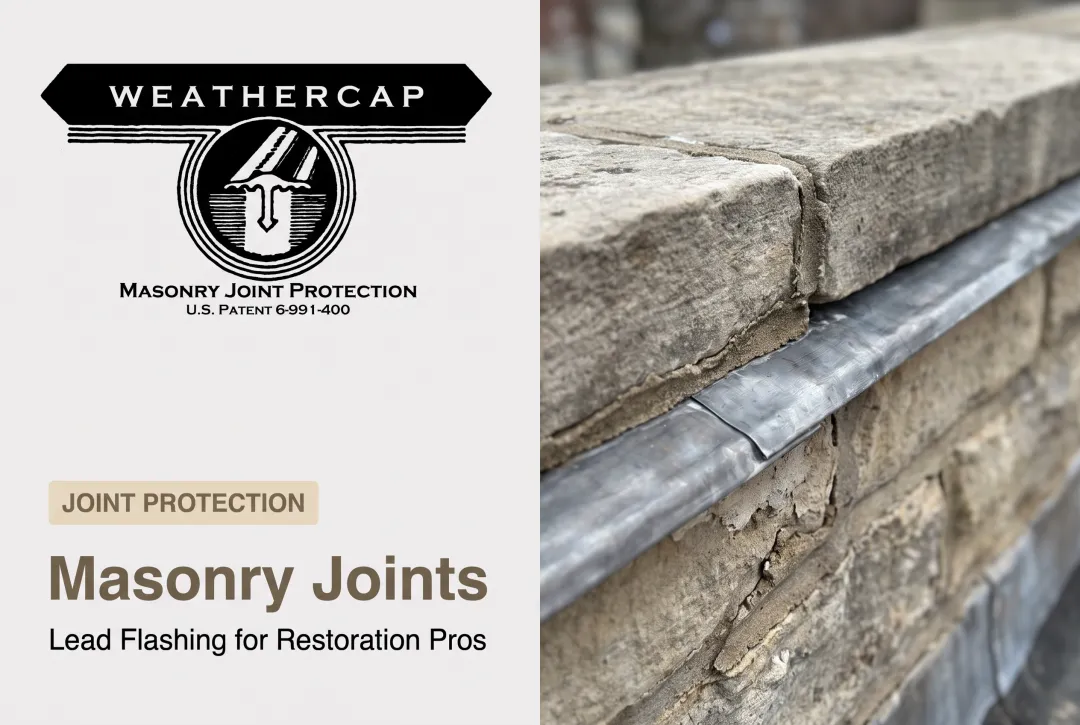
For joints facing ongoing building settlement, a soft lead strip system like WEATHERCAP® can be interposed within the sealant. It absorbs stress and reduces the effective joint opening, protecting the caulk underneath from repeated failure cycles.
WEATHERCAP ships in 6-foot lengths within 48 hours of ordering, in two configurations sized to specific joint widths:
| Type | Sizes | Joint Width Range |
|---|---|---|
| A — Flat Cap | A-2 to A-8 | Less than 3/8 in. to 1 1/2 in. |
| B — 90° Cove Cap | B-2 to B-8 | Less than 5/16 in. to 1 1/4 in. |

Note: all sales are final, so accurate measurement before ordering matters.
Compatibility Considerations
- Match mortar type (lime vs. Portland-based) to the original masonry
- Keep replacement mortar softer and more permeable than the stone — high-Portland mixes can spall soft historic stone
- Verify sealant chemistry on porous stone to avoid staining
- Wear gloves and wash hands after handling lead products like WEATHERCAP; keep food and drink away from the work area
Key Parameters That Affect Joint Filling Results
Joint performance hinges on a handful of controllable variables, not just technique.
Joint Width and Depth
Width determines whether you need backer rod or multi-pass filling. Get the depth-to-width ratio wrong and the sealant tears or the bond fails outright.
Building Movement and Settlement
Thermal cycling and structural shifting stress rigid fills over time. An industry case study documented roughly 80% of CMU units cracking in an accent band where shrinking block was rigidly bonded to expansive brick veneer. That failure shows what happens when joints aren't designed to absorb movement.
Material Elasticity
Low-elasticity materials crack under repeated expansion and contraction. Flexible systems last longer because they conform instead of resisting.
WEATHERCAP's soft lead construction has low creep strength and low elastic modulus. Those properties let the metal slowly reshape with the joint after movement rather than break. Temperature swings actually accelerate that creep, which works in the joint's favor.

Environmental Exposure
Humidity, freeze-thaw cycles, and UV exposure degrade materials at different rates:
- Coastal and northern climates need corrosion- and mold-resistant materials
- Higher elevations face greater freeze-thaw risk
- Freezing water expands with real force inside cracked joints
Common Mistakes and Troubleshooting
Most joint failures trace back to a handful of repeatable errors:
- Skipping joint cleaning or moisture checks: poor adhesion from the start
- Using rigid mortar in high-movement joints instead of flexible sealant or a buffering system
- Overfilling or underpacking the joint, leaving voids that trap water
- Ignoring early cracking or efflorescence: moisture is already getting in and needs prompt repair
Efflorescence specifically requires three things at once: water-soluble salts, enough moisture to dissolve them, and a path to the surface. If it keeps returning after a repair, the moisture source still hasn't been fixed.
Alternatives and Long-Term Protection Options
Standard mortar or caulk alone often can't withstand years of building movement, especially at parapets, copings, and right-angle wall junctions.
Simple Re-Caulking
When it's better: Minor cosmetic gaps with minimal movement. Key trade-offs: Requires frequent reapplication and does nothing to address the underlying movement stress causing the gap.
Elastomeric Sealant Alone
When it's better: Moderate movement joints on modern construction. Key trade-offs: Can still tear or shear under extreme or repeated stress without any supporting system.
Patented Joint Protective Systems (WEATHERCAP®)
When it's better: Historic restoration, parapets, copings, and landmark structures where long-term leak prevention is critical. Key trade-offs: Higher upfront installation effort, but it significantly extends sealant life by buffering movement stress instead of asking the sealant to absorb all of it alone.
The system has protected joints on the Washington Monument, the U.S. Supreme Court, the Smithsonian Institution, and the U.S. Capitol — buildings where joint failure isn't an option and reapplication crews can't show up every other year.
The mechanism is simple: the soft lead strip sits within the sealant and occupies part of the joint opening. This reduces the remaining opening the sealant has to span by half. Less opening to bridge means less stress on the sealant itself.

WEATHERCAP is also specified by name in GSA Historic Preservation Technical Procedures, Document 07656-01, for installation on parapets, copings, balustrades, cornices, and exposed stone features.
Frequently Asked Questions
What is the best material to fill gaps between stones?
It depends on joint width and movement. Lime mortar suits stable, traditional stonework, while flexible sealants handle joints that shift with temperature or settlement.
Can you use regular caulk for masonry gaps?
Standard caulk works fine for minor, low-movement gaps. It tends to fail early on high-movement joints unless paired with backer rod or a protective joint cover.
How wide can a gap be before it needs special filling techniques?
No fixed width threshold applies across every joint. Wider gaps need backer rod and sometimes multi-stage filling—always check your sealant's data sheet for depth and width ratios.
Why do filled masonry joints crack or fail over time?
Building settlement, thermal cycling, and incompatible materials are the leading causes. A mortar that's too hard for the surrounding stone, for example, can chip stone edges instead of flexing.
How often should masonry joint fillers be inspected or replaced?
Inspection timing depends on climate exposure and the material used. Check joints visually at least once a year, and act sooner if you see disintegrating mortar, cracking, loose stones, or damp walls.
What causes efflorescence in newly filled masonry joints?
Soluble salts travel through the joint with moisture. As the water evaporates at the surface, the salts crystallize and show up as that white, powdery residue.