Poor sill detailing shows up fast: staining below windows, spalled stone, cracked mortar from freeze-thaw cycling, and repair bills that climb quickly once water gets behind the wall. This applies equally to new construction and historic restoration.
This guide breaks down sill geometry, material selection, flashing requirements, and the sealant joint issues that cause most failures, so you can get the detail right the first time.
Key Takeaways
- A proper sill slopes outward ~15 degrees, projects at least 1 inch past the wall face, and includes a continuous drip edge
- Dense, low-absorption materials (natural stone, cast stone, precast) outperform porous brick or CMU for sills
- The sill-to-jamb junction and sealant joint are the most common failure points and need dedicated protection
- Building movement drives sealant failure at sills; supplemental joint protection extends service life
What Is a Sill in Masonry and Why Its Design Matters
A masonry sill is the sloped, projecting course installed beneath a window opening to shed rainwater away from the wall. That's the simple definition. The harder part is making sure it actually does its job under real weather conditions for decades.
A sill has to perform three distinct functions:
- Shed water — direct runoff away from the wall face instead of letting it pool or sheet down the facade
- Close the opening cleanly — seal the gap beneath the window without creating a moisture or thermal bridge into the wall assembly
- Integrate with the reveal and jamb — tie into the surrounding masonry at the ends without leaving a gap
That third function is where most designs fall apart. Architects often nail the slope and projection but treat the sill-to-jamb junction as an afterthought.
According to BIA Technical Note 36, the prime function of a sill is to channel water away from the building. The note also stresses that flashing must be provided wherever a cavity or air space is interrupted at the sill, precisely because that junction is a known weak point.

Core Design Requirements for a Masonry Sill Detail
Sill Slope and Projection
Sill angle isn't a guess. BIA Technical Note 36 and BIA Technical Note 7 both specify a minimum brick-sill slope of 15 degrees from horizontal. NCMA's TEK 19-05A shows the same 15-degree minimum for concrete masonry and precast sill details. Insufficient slope lets water pool against the window frame instead of running off.
Projection matters just as much as slope:
- Minimum 1-inch (25 mm) projection beyond the wall face, measured at the point closest to the wall
- Without adequate projection, runoff clings to the wall instead of dripping clear
Drip Edge and Undercut Detailing
Every sill needs a drip. BIA Technical Note 36 confirms that presence and location matter more than the exact shape. V-shaped, rectangular, or semicircular grooves all work, as long as the drip's inner lip sits at least 1 inch from the exterior wall face.
Continuity is non-negotiable: interrupted drip edges let water cling to the wall and stain masonry below.
Damp-Proofing and Flashing Beneath the Sill
This is a code requirement, not a design preference. 2021 IBC Section 1404.4 states plainly: "Flashing with projecting flanges shall be installed on both sides and the ends of copings, under sills and continuously above projecting trim."
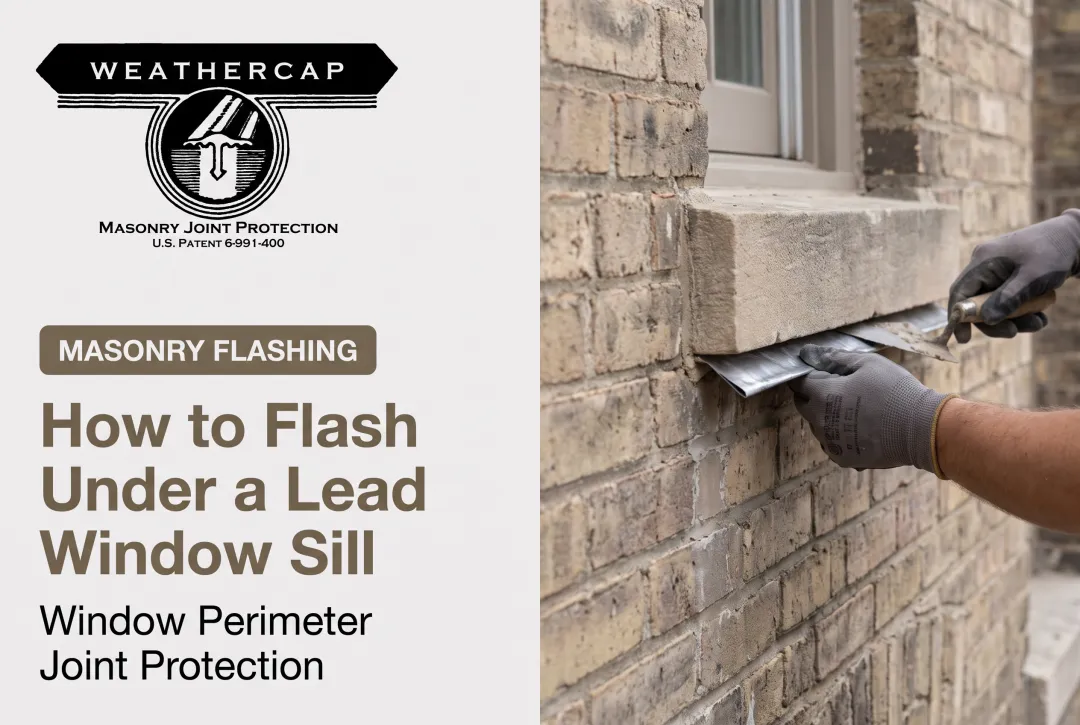
BIA Technical Note 7 reinforces this, requiring through-wall flashing beneath all sills, turned up at the back and ends to form pan flashing. Without this membrane separation, water that penetrates a porous sill unit tracks straight into the inner wythe. There's no gray area here: flashing under the sill is baseline code compliance, not an upgrade.
Flashing continuity and drainage complete the assembly:
- Continuous laps of at least 6 inches where flashing sections join (BIA 7B)
- Weep spacing no more than 24 inches on center for open head-joint weeps
- Weep spacing no more than 16 inches on center for wick weeps

Choosing the Right Sill Material
Sill material absorption directly determines how long the sill lasts. Dense, low-absorption units resist saturation; porous units hold water and pay for it in freeze-thaw damage.
What the data shows:
| Material | Absorption Standard | Key Limit |
|---|---|---|
| Cast stone (ASTM C1364-19) | ASTM C1195 Method A | ≤6.0% absorption at 28 days |
| Cast stone (freeze-thaw) | ASTM C666/C666M | <5.0% mass loss after 300 cycles |
| Normal-weight CMU | ASTM C90 | Max 13 lb/ft³ water absorption |
Porous clay brick or standard CMU used as sill material tends to stain, effloresce, and spall under repeated freeze-thaw cycling because it holds moisture rather than shedding it. Natural stone, cast concrete, and precast cementitious units are the preferred options for sill units. Sills are a different exposure than the field masonry around them.

Mortar selection should follow the surrounding wall system, not a blanket rule. BIA Technical Note 8B recommends Type N for most veneer applications and Type S for exterior above-grade reinforced or loadbearing walls. Full bedding and tight, well-tooled joints matter more than which type you pick.
Protecting the Sealant Joint: Where Most Sill Failures Actually Begin
Even a textbook sill detail depends on a sealant joint at the sill-to-frame and sill-to-jamb junctions. That joint sits under constant stress from thermal cycling, settlement, and general building movement.
Aluminum window frames expand and contract nearly four times as much as brick masonry with temperature swings, according to Hoffmann Architects' Journal of Architectural Technology on sealant joint rehabilitation. Left unmanaged, that differential movement stretches and cracks the sealant, opening a direct path for water beneath the sill.
This is the problem Weathercap's patented soft lead strip joint protective system was built to address. The strip interposes within the sealant joint itself:
- Reduces the effective joint opening by half once embedded between sealant layers
- Flexes with ongoing movement instead of cracking, thanks to low creep strength and low elastic modulus
- Resists corrosion and mold in humid conditions
- Oxidizes to a neutral grey and accepts paint to blend with surrounding sill masonry

For sill-to-jamb applications, Weathercap specifies Type A (Flat Cap) and Type B (90° Cove Cap) configurations, sized to the joint opening plus anticipated movement plus ¼ inch:
- Type A (Flat Cap): joints from under 3/8" (A-2) through under 1½" (A-8)
- Type B (90° Cove Cap): joints from under 5/16" (B-2) through under 1¼" (B-8)
Installation follows a tight sequence:
- Rake the joint clean of old mortar and sealant
- Set backer rod ¼ inch below the anchor-tip position
- Fill sealant to about ⅛ inch above the masonry surface
- Press the strip into place

That window-frame sill meeting its supporting masonry sill is the configuration specified in GSA Historic Preservation Technical Procedures, Document 07656-01, which covers lead stone flashing for vulnerable masonry joints. Weathercap's system has been used on landmarks including the Washington Monument, U.S. Supreme Court, and Smithsonian Institution.
Material ships in 6-foot lengths within 48 hours of order.
Common Sill Detailing Mistakes to Avoid
A handful of recurring errors account for most sill failures:
- Unprotected masonry directly below the sill — missing a drip edge that clears the wall face lets runoff stain and saturate the facade below the window
- Rigid mortar connection to the inner wythe without an integral flashing barrier — creates a direct moisture bridge instead of an intentional break
- Sill ends not integrated with the reveal/jamb closure — leaves the most water-exposed junction on the entire opening unprotected
Each of these mistakes traces back to treating the sill as a standalone element rather than part of a connected water-management system. Fix the junctions, and the rest of the detail tends to hold up.
Frequently Asked Questions
What is the best material for exterior window sills?
Dense, low-absorption materials such as natural stone, cast concrete, or ASTM-compliant cementitious units perform best. Porous clay brick and standard CMU are more prone to staining and freeze-thaw spalling.
What is the proper angle for a window sill?
Industry guidance from BIA and NCMA specifies a minimum 15-degree slope from horizontal, which sheds water effectively while still supporting the window unit.
What is a sill in masonry?
A masonry sill is the projecting, sloped course beneath a window opening that sheds water away from the wall and closes the rough opening below the frame.
How far should a sill project beyond the wall face?
A minimum 1-inch projection is standard, paired with a continuous drip edge underneath to ensure clean runoff away from the facade.
Why do sealant joints at window sills fail over time?
Ongoing building movement and thermal cycling stress unprotected sealant joints until they crack. Without a supplemental protective system, the seal degrades and water enters the wall assembly.
Do masonry sills require flashing or a damp-proof course?
Yes. 2021 IBC Section 1404.4 explicitly requires flashing under sills, and BIA Technical Note 7 confirms through-wall flashing must separate the sill from the cavity below.