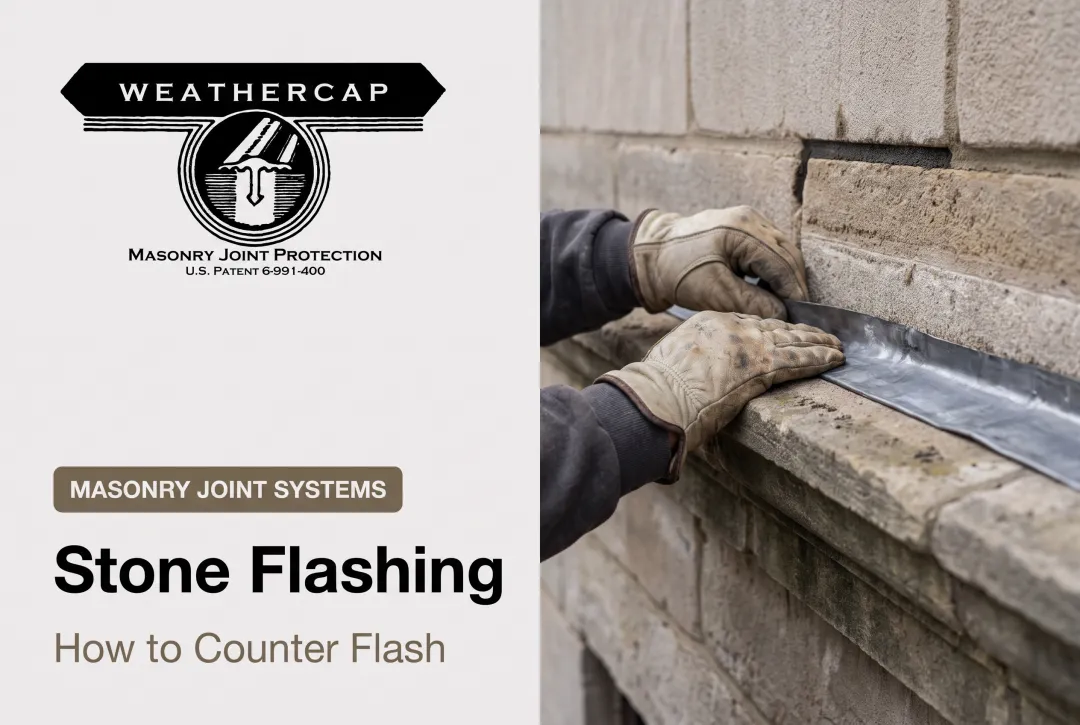
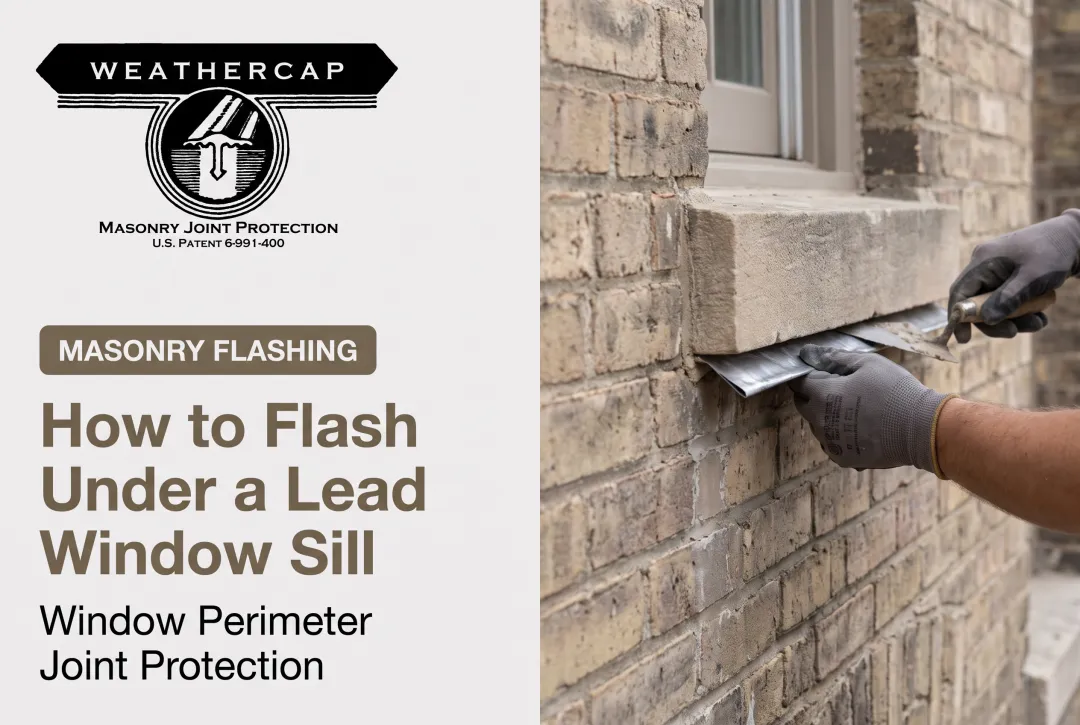
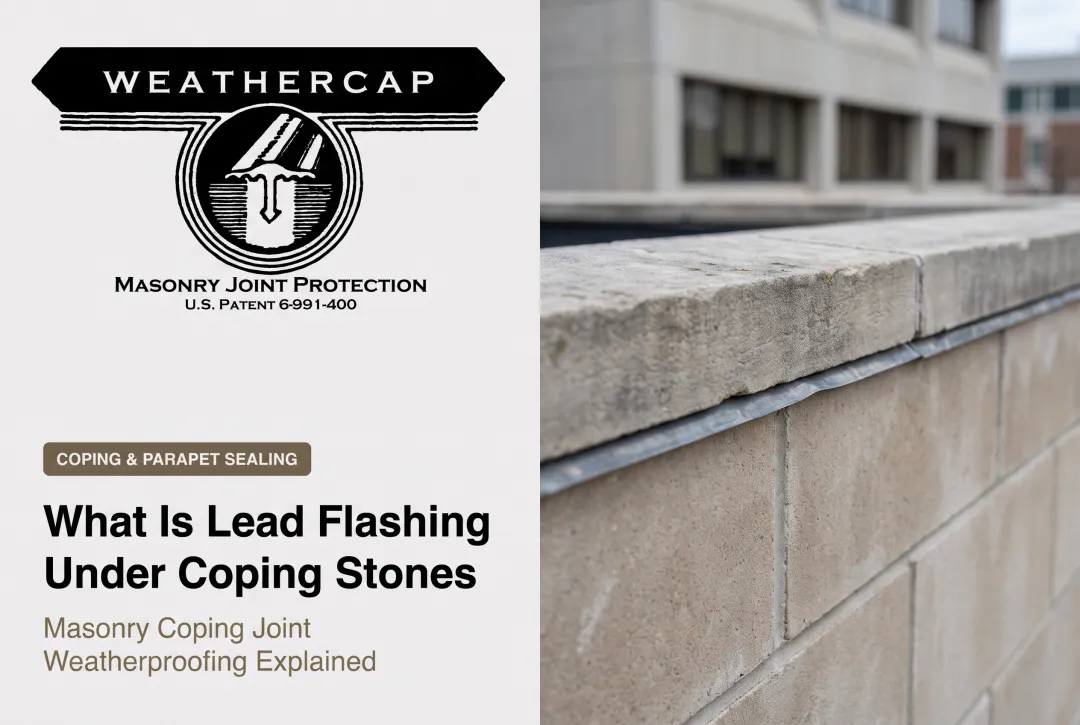
Lead has been the go-to material for these corners for centuries, and for good reason. It's soft enough to dress by hand into tight angles, yet tough enough to shrug off decades of thermal cycling without cracking.
This article covers why internal corners are such persistent leak points, what makes lead the right material for them, how to install it correctly, and how to keep it performing for the long haul.
Key Takeaways
- Internal roof corners concentrate water flow and movement stress, making them high-risk leak points
- Lead flexes and dresses into corners without splitting, thanks to its low elastic modulus
- Underlay goes down first, lead flashing second—sequencing matters as much as material choice
- Oversized lead pieces and over-fixing are two of the most common causes of premature failure
- Weathercap® protects the stress point where masonry and roofing meet, reducing joint movement leaks
Why Internal Roof Corners Are Prone to Leaks
An internal roof corner—often called a valley when it occurs between two sloped planes—is functionally a drainage channel. GAF explains that valleys direct runoff toward drainage points. That concentrated flow means far more water volume per square foot than a typical roof field. Heavy moisture exposure and debris buildup at these points can let water seep beneath surrounding materials.
Water isn't the only issue. Buildings move.
- Thermal cycling causes materials to expand and contract at different rates
- Settlement shifts structural elements over months and years
Rigid, unforgiving flashing materials crack under this stress; flexible ones don't.
The Whole Building Design Guide notes that temperature swings create differential-expansion stress at roof joints, the same stress internal corners absorb daily.

Mixed-Material Junctions Add Complexity
Internal corners frequently occur where a chimney, dormer, or parapet wall meets the main roofline. These are mixed-material junctions—masonry meeting shingle, membrane, or metal—and each material moves at a different rate. That mismatch is precisely where flashing has to do the heaviest lifting.
Why Lead Is the Preferred Material for Internal Corner Flashing
Lead's advantage comes down to physics. It has a low elastic modulus, meaning it deforms under stress rather than resisting until it cracks. Weathercap's own documentation describes their 99.9% lead product this way: low tensile strength, low hardness, low creep strength: all properties that let the material "creep" into a new shape after the building moves, rather than fighting the movement.
Compare that to the alternatives:
| Material | Flexibility at corners | Longevity | Corrosion resistance |
|---|---|---|---|
| Lead | Excellent, hand-dressed to shape | Multi-decade, often outlasts roof | High |
| Aluminum | Limited, requires pre-forming | Moderate | Vulnerable to dissimilar-metal contact |
| Galvanized steel | Limited, rigid | Moderate | Vulnerable to copper runoff |
| EPDM patches | High elongation (300%+) but not a formed metal detail | 50+ years as membrane, not tested as corner flashing | Good UV/ozone resistance |

Aluminum and galvanized steel need to be pre-formed before installation. That's a problem at internal corners, where every angle is slightly different. Lead sidesteps this entirely. An installer can dress it by hand, tight into the corner, with a bossing mallet.
The Patina Advantage
Lead oxidizes to a neutral grey patina over time. That patina is a protective layer. It blends into surrounding masonry or roofing, so repairs don't stand out the way a fresh aluminum patch does.
Where Weathercap Fits In
Where an internal roof corner meets a masonry parapet or wall, you're dealing with two different structural systems trying to move independently. This is the exact problem Weathercap's patented soft lead strip system (U.S. Patent 6991400) was designed to address.
Weathercap's Type B configuration is a 90-degree cove cap built for right-angle junctions, where cornices, belt courses, or parapets meet a wall at close to a right angle. The cap sits over a sealant-filled joint, with its anchor shaft embedded in sealant rather than mortar. As the building moves, the soft lead creeps into the new joint shape instead of tearing.
Weathercap states the system reduces the effective sealant opening by roughly half, which extends sealant life considerably. It is not a traditional shingle-and-valley roofing flashing product; it is built for masonry joints. Where internal roof corners intersect parapets or copings, that same stress-buffering behavior is exactly what those junctions need.
Step-by-Step: Installing Lead Flashing at an Internal Corner
Tools and materials you'll need:
- Lead sheet or strip (Code 4 is a common trade benchmark—about 1.80 mm / 0.07 in thick)
- Flat dresser, bossing stick, and bossing mallet
- Chalk line
- Clips, lead wedges, or adhesive (depending on substrate)
- Underlay/building paper
Prep the Substrate
Clean and dry the corner thoroughly before anything touches it. Debris or moisture trapped under the flashing defeats the purpose before you've even started.
Cut, Shape, and Dress
- Cut the lead to overlap both planes of the corner with adequate upstand on each side
- Chalk your fold lines so the bend sits exactly at the corner apex
- Dress the lead by hand using the bossing mallet and stick, folding it tightly into the angle without stretching or splitting the material
- Check for splits at the fold before moving on. This is where rushed work shows up first

Fix It in Place
Fixing method depends on what the corner meets:
- Masonry: lead wedges driven into raked mortar joints
- Other roofing material: clips or adhesive, set to allow thermal movement rather than pinning the sheet rigidly
Best practice is direct on this point: fixings must secure the sheet without restricting the movement it needs to accommodate.
Layer Correctly
Underlay goes down first, lead flashing second. That sequence is not optional.
Underlay earns its place because it:
- Isolates the lead from the substrate below
- Reduces drag so the sheet can expand and contract
- Prevents puncture from an uneven deck
Skipping this step, or using the wrong underlay type, is a documented cause of premature failure.
Common Mistakes That Cause Internal Corner Flashing Failures
Most internal corner flashing failures trace back to a few installation errors:
- Undersized pieces: Overlap that stops short on either plane leaves a gap water can find. Pieces too small for the corner's water volume are a repeat offender.
- Oversized pieces: The Building Lead Manufacturers (BLM) association flags oversized lead sheet as a leading cause of fatigue cracking. Larger pieces absorb more thermal movement in one span and eventually tear.
- Rigid over-fixing: Nailing or clipping lead too tightly, with no expansion room, creates the fatigue failure lead is meant to avoid. Hold the sheet without pinning it.
- Sealant as a substitute: Caulk breaks down under UV and thermal cycling; lead does not. Use sealant as a secondary barrier alongside lead, not as the primary corner defense.

Maintenance and Inspection of Lead Flashing at Corners
Lead flashing needs less maintenance than most roofing materials, but it isn't maintenance-free.
- Inspect twice a year and after severe weather, per NRCA guidance
- Check joints and metal interfaces for splits, disbonding, and granular oxidation buildup
- Watch for interior ceiling stains near corner junctions—often the first sign of a failure that has been developing for months
- Check for lifting at fold lines or fixing points, especially after a hard freeze-thaw cycle
The upside of lead is that minor damage is often repairable rather than a full tear-out. Because the material stays soft, a roofer can re-dress a lifted section with a bossing tool and extend service life without replacing the whole piece.
Frequently Asked Questions
Should lead flashing be placed under or over tiles?
The upper edge tucks under the tile or roofing material above, while the lower edge overlaps the surface below. This directs water outward and down, preventing it from seeping in at the corner.
Is it safe to touch lead flashing?
Handling lead flashing during installation is generally safe with basic hygiene: wear gloves and wash hands thoroughly before eating or drinking. Cutting, soldering, or sanding lead can release particles and requires ventilation and PPE under OSHA's lead standard.
How long does lead flashing typically last on a roof?
Lead typically lasts multiple decades and often outlasts the surrounding roofing material. Manufacturer warranties, such as Ecobat's 50-year conditional warranty, reflect that durability when installation follows industry standards.
Can lead flashing be painted to match the roof or masonry?
Yes. Lead can be painted for aesthetics without losing flexibility. Weathercap's system, for example, is documented as paintable while still absorbing joint and building movement.
What thickness of lead is recommended for internal corner flashing?
Thickness depends on exposure and expected movement. Code 4 lead, at roughly 1.80 mm thick, is a common benchmark, with heavier codes used in high-stress or high-water-volume areas.
Is lead flashing better than synthetic alternatives for internal corners?
Lead generally outperforms synthetic patches in movement accommodation and longevity at complex corner geometries, though it demands more installation skill. EPDM offers strong elongation as a membrane, but it hasn't been tested as a formed corner-flashing detail the way lead has for centuries.