Introduction
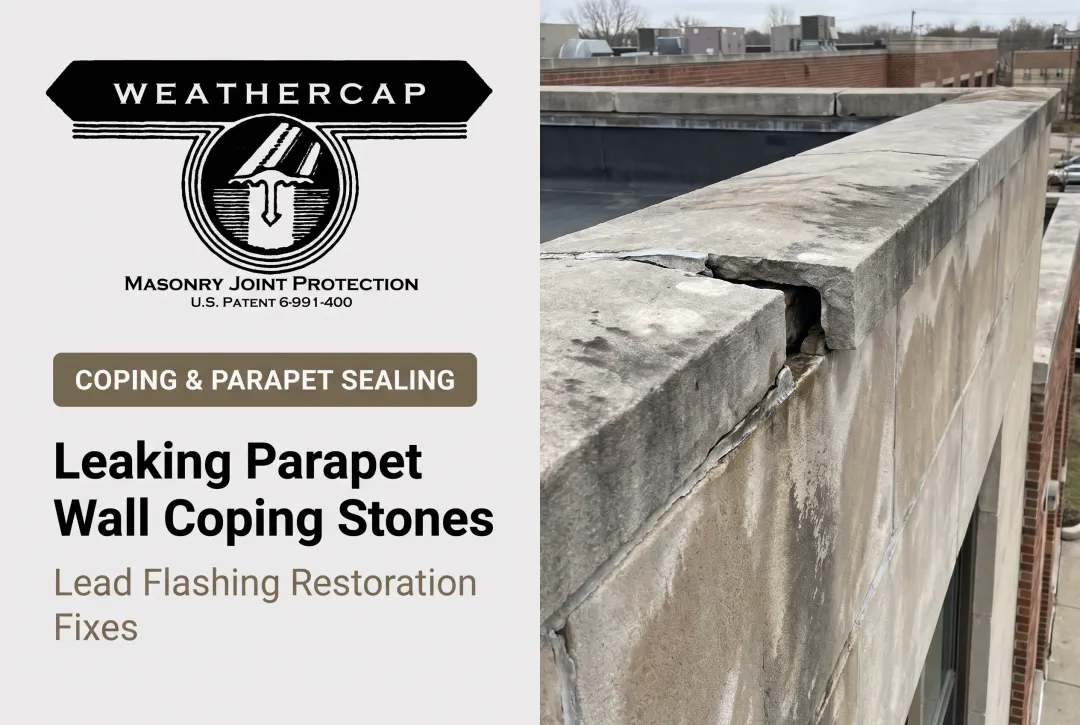
A parapet wall looks fine from the ground. The coping stones sit level, the joints look tight, and nothing seems out of place. Then a contractor climbs up for a routine inspection and finds damp staining creeping down the inside face of the wall, three feet below the cap.
The coping isn't the problem. What's failed is the layer underneath it that almost nobody ever sees: the lead flashing.
Most building owners—and even many contractors—have never laid eyes on this hidden waterproofing barrier, because it's buried by design. Historic England has documented cases where underside corrosion caused lead flashing to fail in as little as 15 years instead of the centuries it's capable of lasting.
This article breaks down what lead flashing under coping stones is, how deep it's installed, why lead remains the preferred material, and how modern joint protection systems build on the traditional detail.
Key Takeaways
- Lead flashing is the concealed waterproof layer beneath coping stones, not the visible cap itself
- Standard practice turns lead a minimum of 25mm (1 inch) into a cut masonry joint
- Properly installed lead can last centuries; underside corrosion can cut that short
- Cracked pointing above the flashing causes most leaks—not the lead itself
- WEATHERCAP® builds on the traditional detail by protecting the sealant joint itself
What Is Lead Flashing Under Coping Stones?
Lead flashing under coping stones is a strip or sheet of lead installed beneath the coping unit atop a parapet, freestanding wall, or chimney. It sits between the wall structure and the visible cap, acting as the primary waterproof membrane before the coping is bedded on top.
Flashing and coping are not the same thing, even though the terms get mixed up constantly:
- Coping is the visible cap stone or unit that sheds rain off the top of the wall
- Flashing is the hidden waterproofing layer that catches whatever water finds its way through the coping joints above it
The joint where a wall meets its coping is inherently vulnerable. Porous stone, cast concrete, or brick coping can't reliably block water on their own, especially at the mortar joints between individual units.
The Brick Industry Association notes that flashing beneath caps and copings exists specifically to prevent moisture from entering the wall, regardless of which coping material sits above it.
Coping Materials and Flashing Needs
Different coping types pair with lead flashing in slightly different ways:
- Natural stone — wider, more irregular joints often need generously formed flashing
- Precast or cast-in-place concrete — typically has tighter, more regular joints
- Brick-on-edge — more individual joints than any other coping type, and more potential water entry points
- Terracotta — thinner units that demand careful flashing dressing to avoid stress cracking
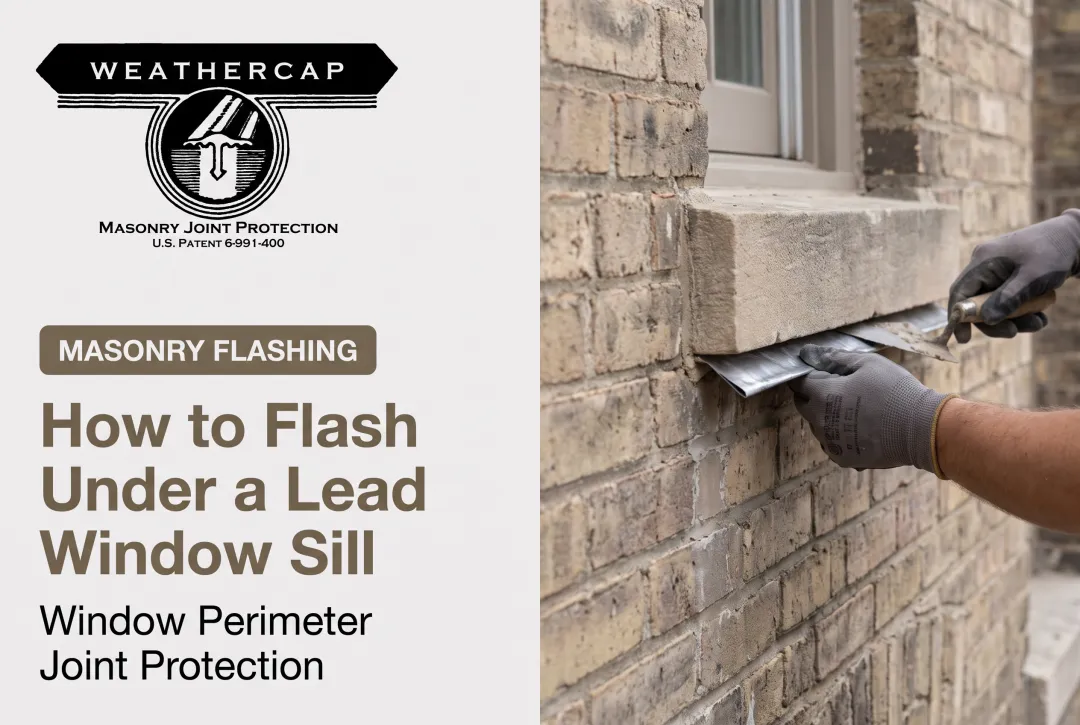
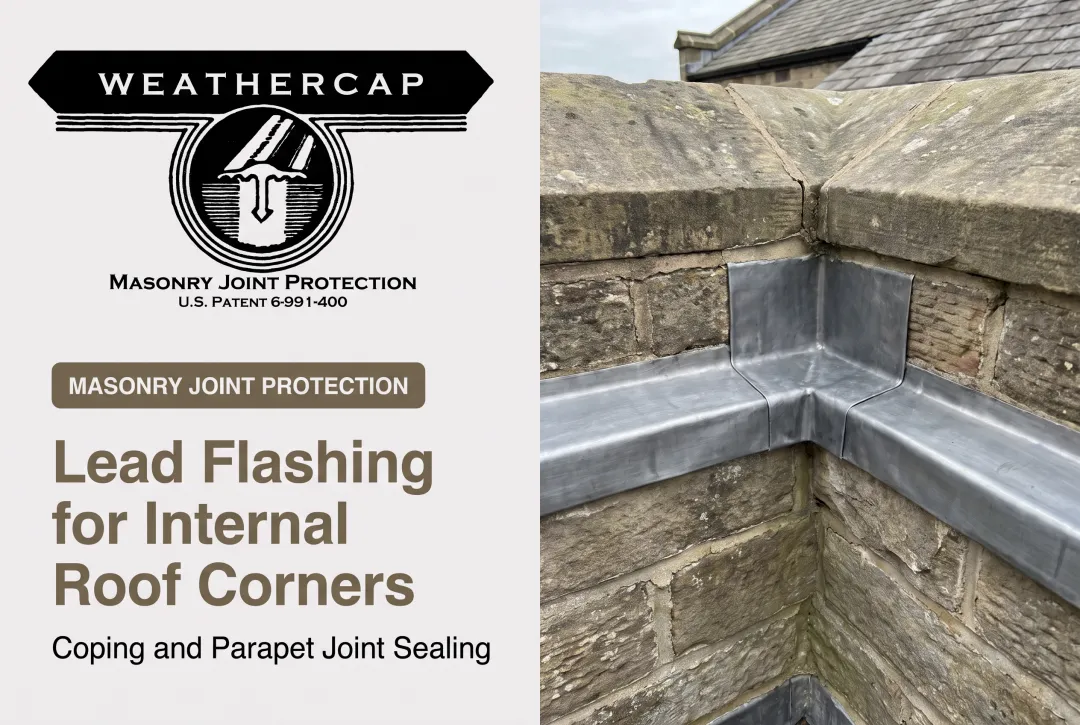
In a typical installation, the flashing runs as a continuous strip along the full wall length, turned up against both wall faces or set into a cut chase. The coping is bedded directly on top, so any water that gets past the coping joint sheds outward instead of soaking downward into the cavity.
This flashing works alongside a dampproof course, not instead of one. It manages surface-level joint water; a full DPC system handles moisture movement through the wall itself.

How Lead Flashing Is Installed Under Coping Stones
Installation depth isn't guesswork. Industry guidance from Calder's lead flashing standards specifies a minimum turn-in depth of 25mm (1 inch) into a cut groove or raggle in the masonry joint. This gives the lead enough mechanical grip to stay put without relying purely on mortar adhesion.
Fixing Methods Depend on Joint Width
Two approaches dominate, and the choice comes down to how wide the joint is:
- Wedging (narrow joints): Wedge the lead directly into the joint before pointing
- Screwing (wider joints or cut chases): Fix with stainless steel screws and washers
Specify copper, brass, or stainless steel fixings. Galvanized and aluminum fasteners are typically excluded because they corrode against lead.
Laps, Sealing, and Wind Resistance
Lead expands and contracts with temperature, so flashing isn't run as one continuous sheet. Standard practice limits individual pieces to a maximum of 1.5 meters (about 5 feet). Leave a minimum 100mm (4-inch) end lap between sections so movement doesn't open leak paths.
Once positioned, the lead is bonded to the masonry with mortar or a compatible mastic sealant. Installers sometimes apply a bond-breaker, such as masking tape, along one edge so the lead can move independently without cracking the pointing above it.
The flashing then gets dressed to shed water outward, away from the wall face. A few details separate good work from bad here:
- Dress the lead flat against the masonry; never fold it back on itself, which blocks mortar adhesion
- Use a slight coping overhang or drip edge to keep runoff off the masonry below
- Exposed edges need clips or fixings at specified centers (commonly every 450mm, or 18 inches) to stop wind uplift from lifting the flashing in exposed locations
Why Lead Is the Preferred Material for Coping Flashing
Lead remains the standard for one simple reason: it moves the way masonry needs it to move.
Malleability is the biggest advantage. Lead can be dressed, bossed, and formed tightly around joints, corners, and irregular coping profiles without cracking. Rigid metals or plastic flashings can't match that. They either need factory-formed corners or they crack at stress points where a wall changes direction.
Durability backs this up over the long term. Historic England states that properly laid lead can last many hundred years under normal conditions. Compare that to aluminum, where manufacturer-cited life expectancy runs closer to 40 years.
Lead also weathers in a way that works with masonry, not against it:
- It oxidizes to a neutral grey patina that blends into most stone, brick, and concrete
- It resists mold and mildew growth even in persistently damp conditions
- It doesn't conduct heat or cold the way some metals do, reducing thermal bridging at the joint
One failure mode worth watching: underside corrosion. Condensation or contact with acidic materials like oak, glues, or certain plywoods can attack the lead from below, so keep the installation detail clean and keep incompatible materials off the lead.

Can Water Still Leak Through Coping Stones With Flashing Installed?
Yes — and this catches a lot of building owners and facility managers off guard. Flashing failure isn't usually about the lead itself giving out. It's almost always what's happening above it.
Water that gets past deteriorated pointing or a cracked sealant joint travels downward through the wall until it hits the flashing. From there, it migrates outward, which is why staining often shows up several courses below where the actual failure started. That gap between cause and visible symptom is what makes coping leaks so tricky to diagnose.
Common Failure Points
- Cracked or eroded mortar and sealant sitting above the flashing
- Wedges or clips loosened by wind vibration and repeated thermal cycling
- End laps that were installed too short, leaving a gap for water to track through
- Corrosion caused by lead contacting incompatible metals, like galvanized fasteners
What to Check For
An annual visual inspection catches most of these problems before they become expensive. Look for:
- Efflorescence (white, chalky deposits) on the wall face below the coping
- Damp staining that follows the coping line
- Coping units that feel loose or shift when pressed
- Cracked or crumbling pointing at the joint above the flashing
None of these signs prove the lead itself has failed: they indicate moisture is present, and the source needs tracing. Catching them early, before the wall cavity saturates, prevents much larger repairs later.
Lead Flashing vs. Modern Coping Joint Protection Systems
Traditional cut lead flashing is a passive sheet, buried in the joint, and it only works until something above it fails. Purpose-built systems take a different approach entirely.
WEATHERCAP®, manufactured in Slidell, Louisiana, is a patented soft lead strip (U.S. Patent 6991400). It is interposed directly within the sealant or caulk joint at coping-to-wall junctions, rather than turned into a cut raggle in the masonry.
Instead of relying on mortar to hold it in place, the strip is set wholly in sealant. Its anchor shaft and bonding grooves stay fully encapsulated, so it moves with the joint instead of against it.
The system comes in two configurations:
- Type A (Flat Cap) — for horizontal coping joints and cross joints, sized A-2 through A-8 for joints up to 1½ inches
- Type B (90° Cove Cap) — for right-angle junctions where a projecting element meets a parapet or side wall, sized B-2 through B-8 for joints up to 1¼ inches
For specifiers, one benefit is concrete: when interposed in a joint, WEATHERCAP reduces the effective joint opening by half. The sealant beneath bridges a smaller gap and takes less stress from building movement over time.
Why It's Earned Specification Status
A few credibility markers explain why architects and restoration specialists keep this on the specification sheet:
- Specified under GSA Historic Preservation Technical Procedures, Document 07656-01
- Used on the Washington Monument, U.S. Supreme Court, Smithsonian Institution, U.S. Capitol, and U.S. Treasury Building
- Applied on more than two dozen other landmarks, including Grand Central Station, the Metropolitan Museum of Art, and multiple state capitols
For contractors, the practical case is straightforward. The strip will not tear or shear under stress, and it ships in 6-foot lengths within 48 hours of ordering. That makes it a practical upgrade at parapets, copings, and right-angle wall junctions, without the cut-raggle work traditional flashing demands.

Maintaining and Repairing Lead Flashing at Copings
Coping flashing doesn't need constant attention. An annual inspection, plus a check after any major storm, should focus on three things:
- Lap joints — confirm sections still overlap fully with no gaps
- Wedge and clip security — check for movement or loosening from wind vibration
- Pointing and sealant condition — this is where most failures actually originate, not in the lead itself
When problems turn up, the fix doesn't always mean full replacement. Common repair approaches include:
- Re-dressing lead that's lifted or pulled away from the masonry face
- Cutting out and replacing degraded mortar or sealant with a compatible material
- Spot repairs where only a section of pointing or a single lap has failed
Full flashing replacement becomes necessary when corrosion has compromised the lead itself across a long run, or when repeated spot repairs haven't stopped water tracking through.
Most repair work can be done from the joint face, without removing the coping stones entirely. That keeps restoration costs and timelines down when full stone removal would otherwise be required.
Pairing the repair with a Weathercap lead joint protection strip, rather than mortar alone, gives the sealant added protection against the same movement that likely caused the original failure.
Frequently Asked Questions
What is coping flashing?
Coping flashing is the concealed waterproofing layer installed beneath a coping stone or cap. It protects the wall-to-coping joint from water intrusion before it reaches the masonry cavity below.
Can water leak through coping stones?
Yes. Porous stone, concrete, or failed joint sealant can still let water through even with flashing present underneath. Watch for efflorescence, damp staining below the coping line, or cracked pointing as early warning signs.
How deep does lead flashing go into masonry?
Standard masonry flashing practice calls for a minimum turn-in depth of 1 inch (25mm) into a cut groove or raggle. This gives the lead enough mechanical grip to resist movement and pull-out.
Should lead flashing go under or over tiles?
At a wall-to-roof junction, flashing is typically dressed over the roof tile or slate and under the coping or DPC. This layering directs water outward and away from the wall rather than back into the roof structure.
What thickness or code of lead is typically used for coping flashing?
Lead thickness varies by exposure and joint width, with codes commonly ranging from Code 4 (1.80mm) to Code 8 (3.55mm). More exposed locations generally call for heavier codes to withstand wind and thermal stress.
Can lead flashing be repaired without removing the coping stones?
Many repairs, including re-pointing and re-dressing lifted lead, can be made directly from the joint face without lifting the coping. Extensive corrosion or failures along long runs may still require removing the coping units to access the flashing fully.